 Data Tables
A data table is more than just a spreadsheet, Workflow Automation data tables take static spreadsheet data and open it up to automation.

Every Workflow stores data in a unique master data table, where data from all past instances are stored. Data tables are also made by uploading spreadsheets or using actions to create them in your automation.
Example of use 
One Workflow may have multiple data tables, and one data table may be used by multiple Workflows. Since a data table can store anything a spreadsheet would–a log of activity, a list of items, a calculation of totals––it’s used across all automation.
For example, you could set up a data table to track every vendor your company works with: each row of the table would be a different vendor and each column would be an attribute of the vendor, like name, address, pricing, or satisfaction.
With could leverage and reference this table across different Workflows:
- In a Vendor Approval Workflow, use the Tables: Add a row action to add that vendor to the Vendors table once approved.
- In a Vendor Selection Workflow, use the Tables: Apply filters action to filter the table only to vendors within a specific category.
- In a Vendor Renewal Workflow, use the Tables: Start Workflow for Each Row action to initiate a renewal instance for every vendor.
Working with data tables
To get started with data tables, try creating a new table, browsing the tables on your team, or archiving a table. Once you’re familiar with tables, you can learn how to do more with data tables.
View and manage data tables
Every data table you create or have shared with you is tracked and listed on the data tables screen.
For each Data Table, you can see its name, who created it, and when it was created. Select a data table to open, view, and edit the data in a spreadsheet style view.
Create a new data table
From the data tables screen, create a new data table with the  button. This opens up a new page to name, configure, and create a new Data Table. Any new data table can be associated with a Workflow as an add-on by using the Data Table ID somewhere in a Workflow’s actions.
Change data table permissions
Set data table permissions to restrict which users can see select data tables. This data table permissions is set at the data table level and is never overwritten by the permission levels of any instances or data table fields it is shown or used in.
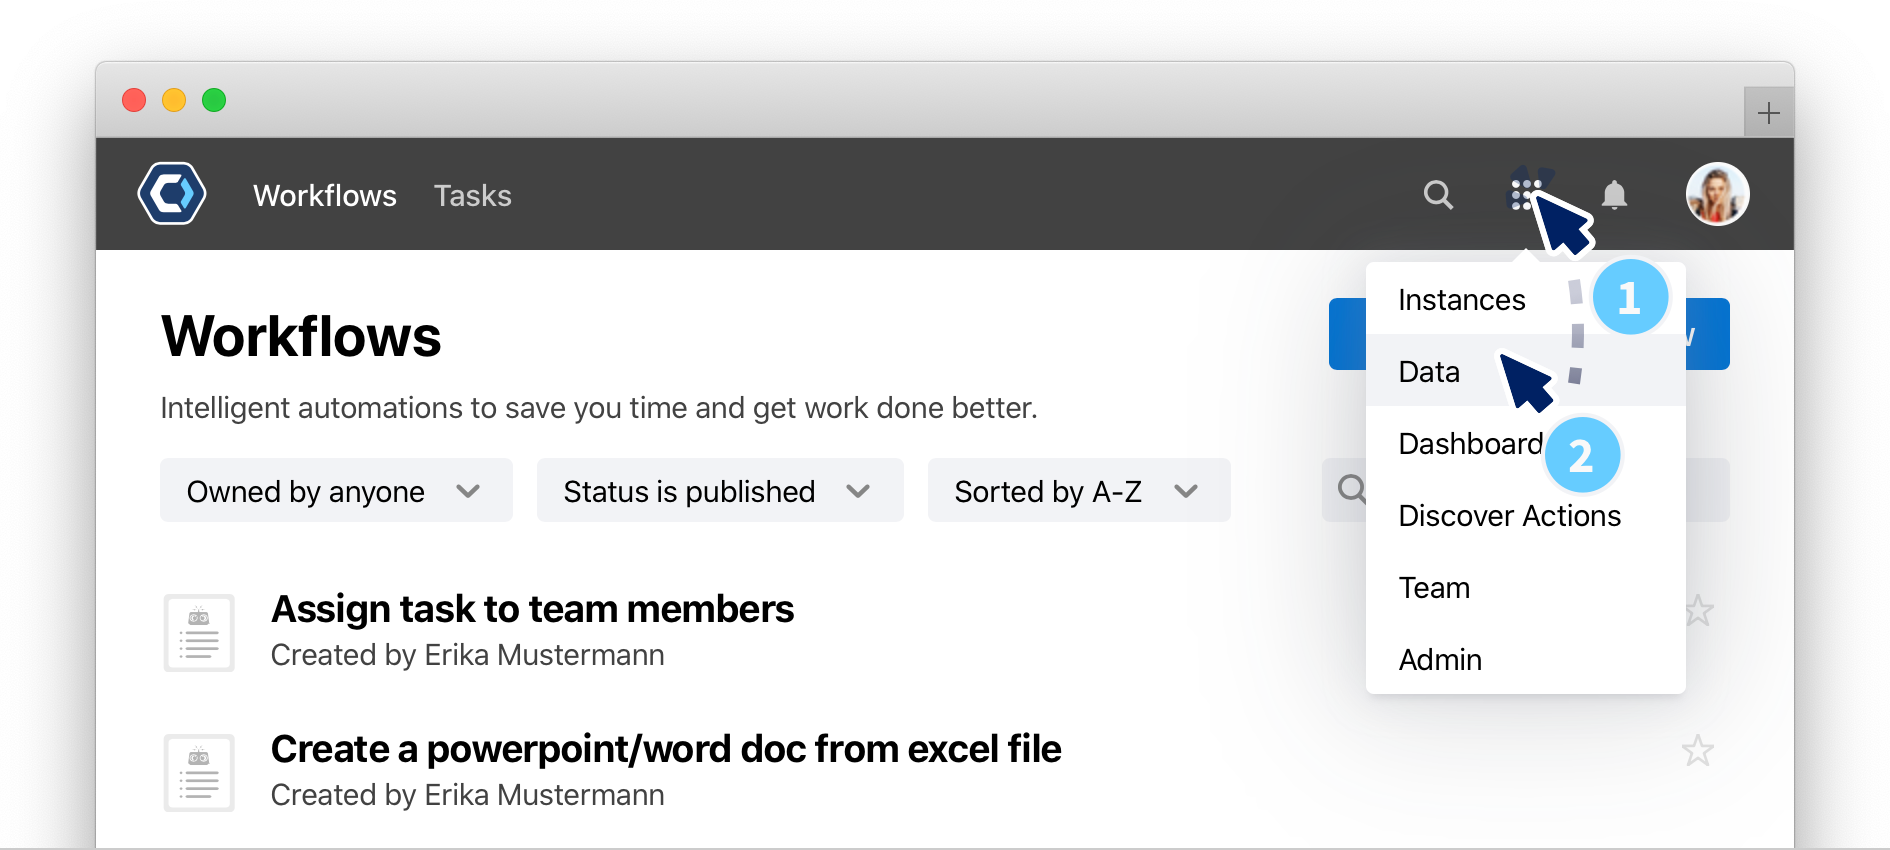
- Open the
 menu in the top navigation bar, and select Data. Select a data table.
 -
Select the
 button and select Permissions. This opens a new screen to change permissions.
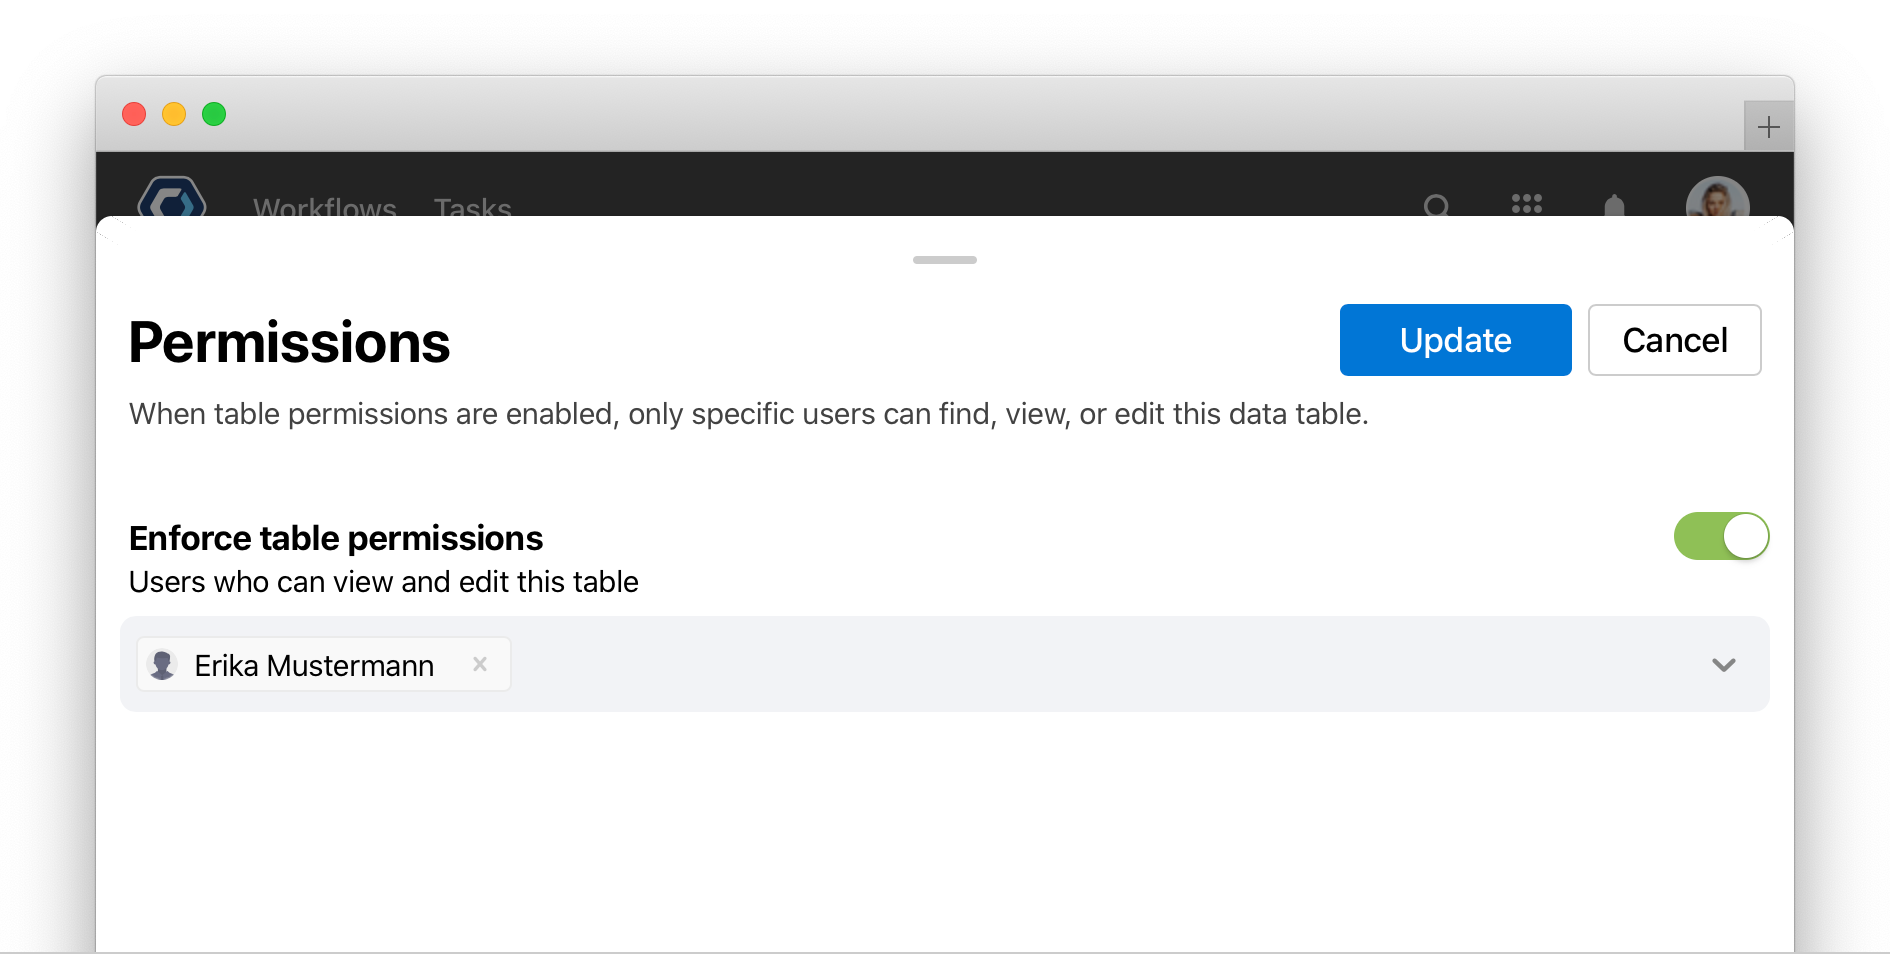
- From the permissions page, toggle Enforce table permissions on or off. If disabled, any user on the team may access or edit the data table.
- Add or remove the individual users who can view the table. Any user not on the list cannot see or access the data table.
Sort, filter, and search through your data tables
Organize and sort your data tables using filters. By default, the data tables page will show an alphabetized list of all data tables that are from active Workflows from your team.
You can filter the data tables by type or status.
- Filter by type, such as: all types, master, imported, or application tables.
- Filter status, such as active or archived.
In addition to sorting by A-Z, you can sort by relevancy or by created date.
Quickly filter and search through data tables by entering parameters into the filter items search box. Enter terms like “Sep” or “Aug” to return all data tables with those terms in their name or description.
Archive a data table
Archived data tables will no longer appear in the default list of tables. Archiving a data table is reversible and not permanent, though archived tables cannot be used as part of a Workflow.
- Select in the top right corner and select Archive
- Select

To unarchive a data table, return to your list of data tables, then change the status filter on the data table page from Active to Archived to view all archived data tables.
Check the Workflow master data table
Every Workflow has a master data table. The master data table stores all permanent data recorded by the Workflow from each instance. Every row of the table is an instance, and every column is a field. The master table is useful as both a system of record or audit log, or to reference from within a Workflow with table actions.
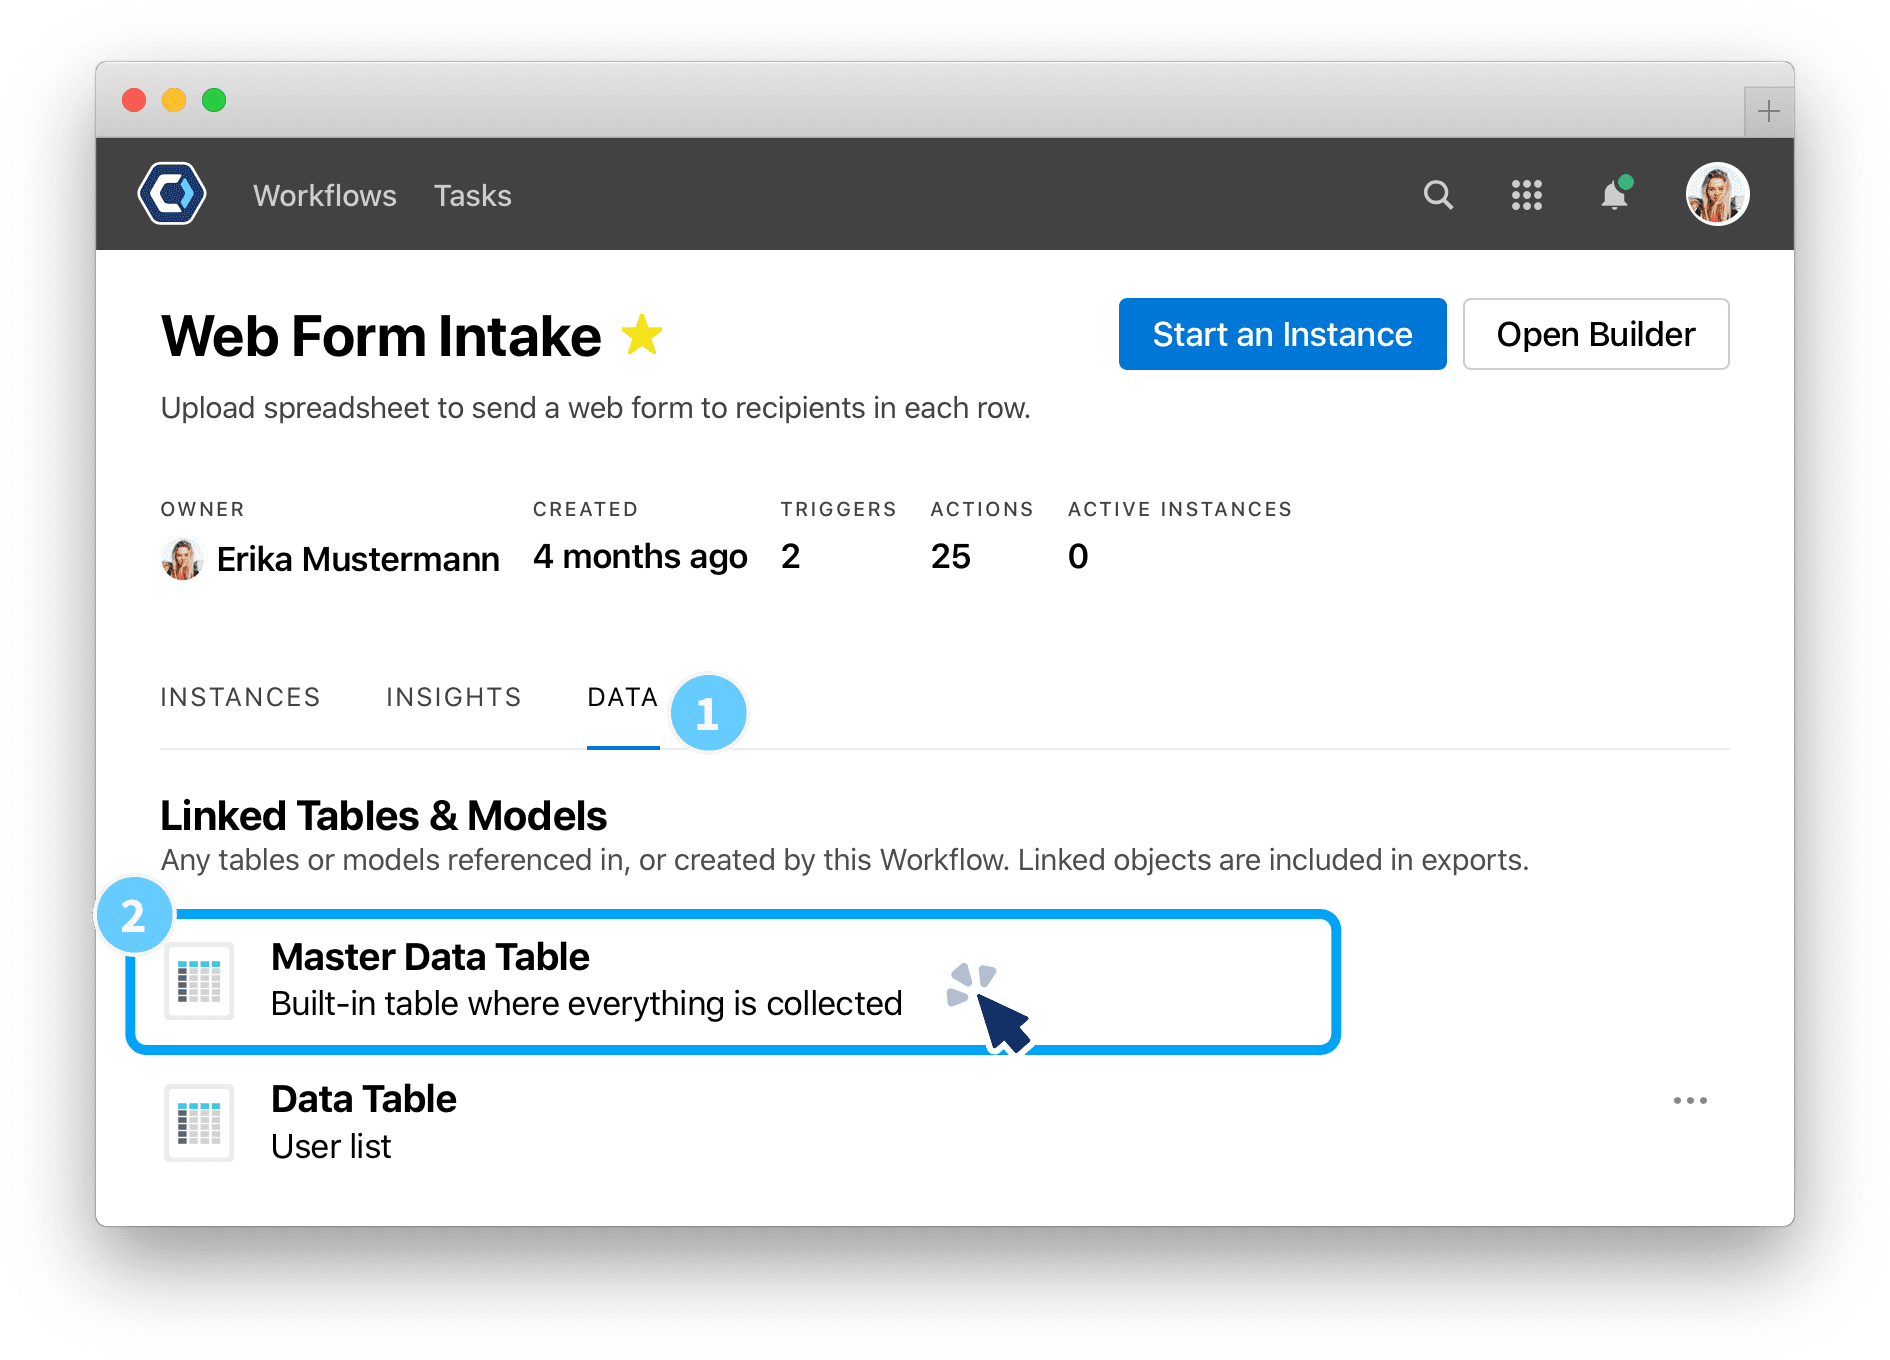
To find the master table, open the Workflow page, and select the Data tab. Any user who has access to find or start the Workflow can also view the master table. To learn more about master table permissions, see the Workflow permissions article.
Do more with data tables
For more information or tips for working with data tables, check the AI & Data topic or browse one of the specific articles below.
- Viewing data tables
- Importing a data table from a spreadsheet
- Updating tables
- Exporting tables
- Application Tables
Get help with a problem or question
If something’s not working as expected, or you’re looking for suggestions, check through the options below.
How to find a table’s ID
First, find the table field within a process. It is easiest to find this field by checking the output fields for an entire process
From there, select and open the table. The table ID is available at the end of the URL. For example, for https://example.pushbot.com/tables/a526b85f-57a3-4a9a-ad14-8d0dfcedcca3, the table ID is a526b85f-57a3-4a9a-ad14-8d0dfcedcca3

How do I convert a field to a new field type?
PagerDuty Workflow Automation fields always have a field type. For example, a field with the type “Text” accepts all alphanumeric characters, and the type “Integer” only accepts whole numbers. There are 18 commonly used field types.

You can specify the field type when you add a field to a Workflow or data table. To convert a field to a new type, you need to manually change the field type.
Thanks for your feedback
We update the Help Center daily, so expect changes soon.
Link Copied
Paste this URL anywhere to link straight to the section.