 Updating Data Tables
Data tables store information from each Workflow instance or any data imported into PagerDuty Workflow Automation. Actions like Tables: Add a row and Tables: Update a row are powerful ways to automate updating a data table.

Every data table you create or have shared with you is tracked and listed on the data tables screen.
If necessary, you can edit and add new information to existing data tables manually when viewing the data table. To edit data, add a new row, or more, perform any of the steps below from a data table page.
Add a new row 
- Select
 next to the table name and select Add row
 - Complete the information for each field in the row
- Select

Edit individual fields
- Double click the field you want to edit. The cell will turn blue like the example above.
- Make any changes to the cell value.
- All changes are saved automatically.
Convert a field to a new field type
PagerDuty Workflow Automation fields always have a field type. For example, a field with the type “Text” accepts all alphanumeric characters, and the type “Integer” only accepts whole numbers. There are 18 commonly used field types.
You can specify the field type when you add a field to a Workflow or data table. To convert a field to a new type, you need to manually change the field type.
Edit an entire row
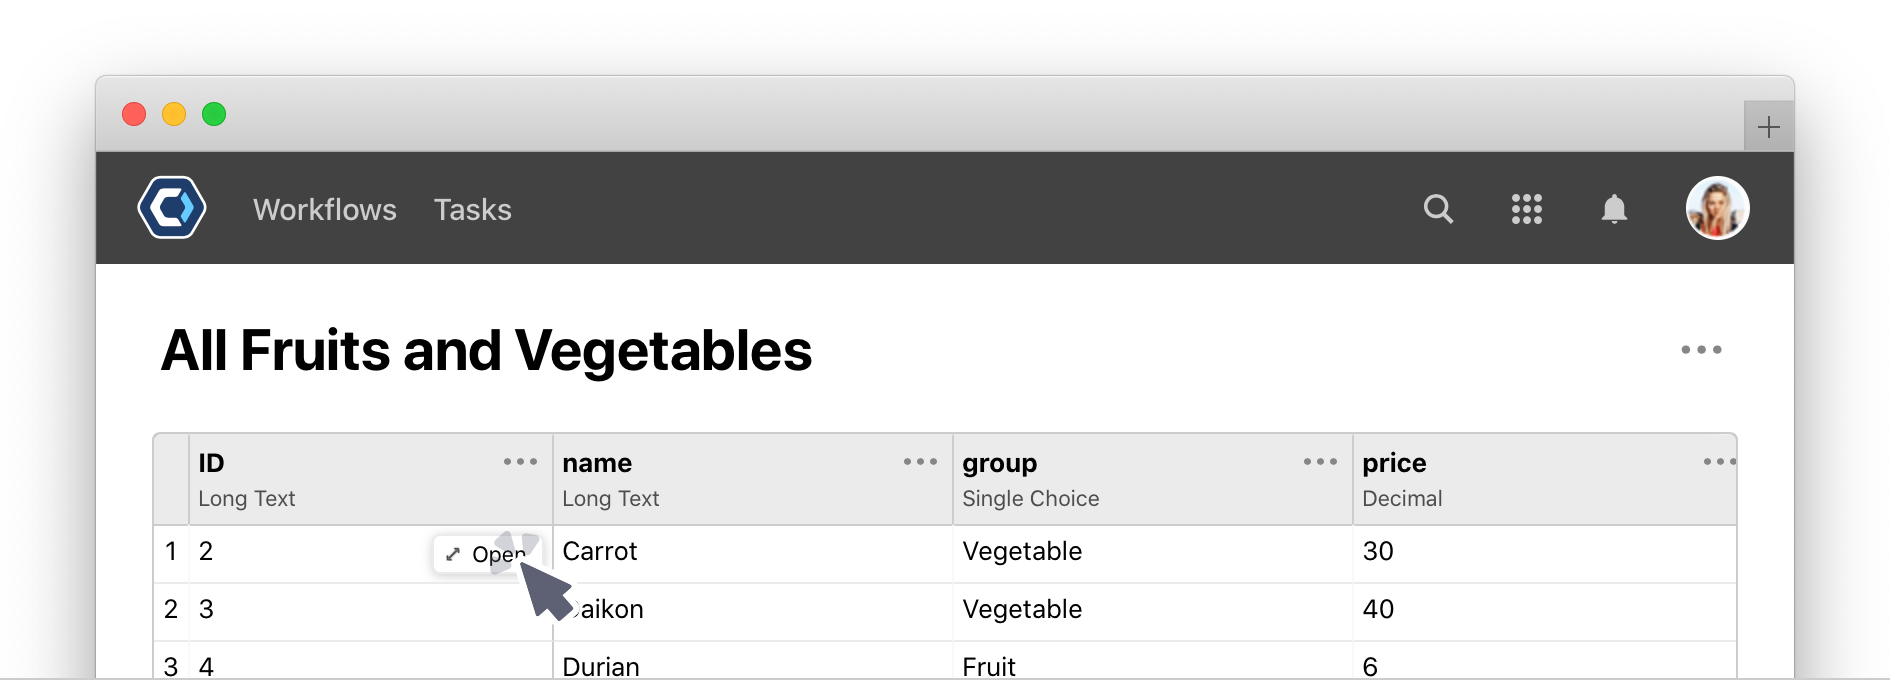
Hover over the first field in a row and select the  button. This opens the view row screen.
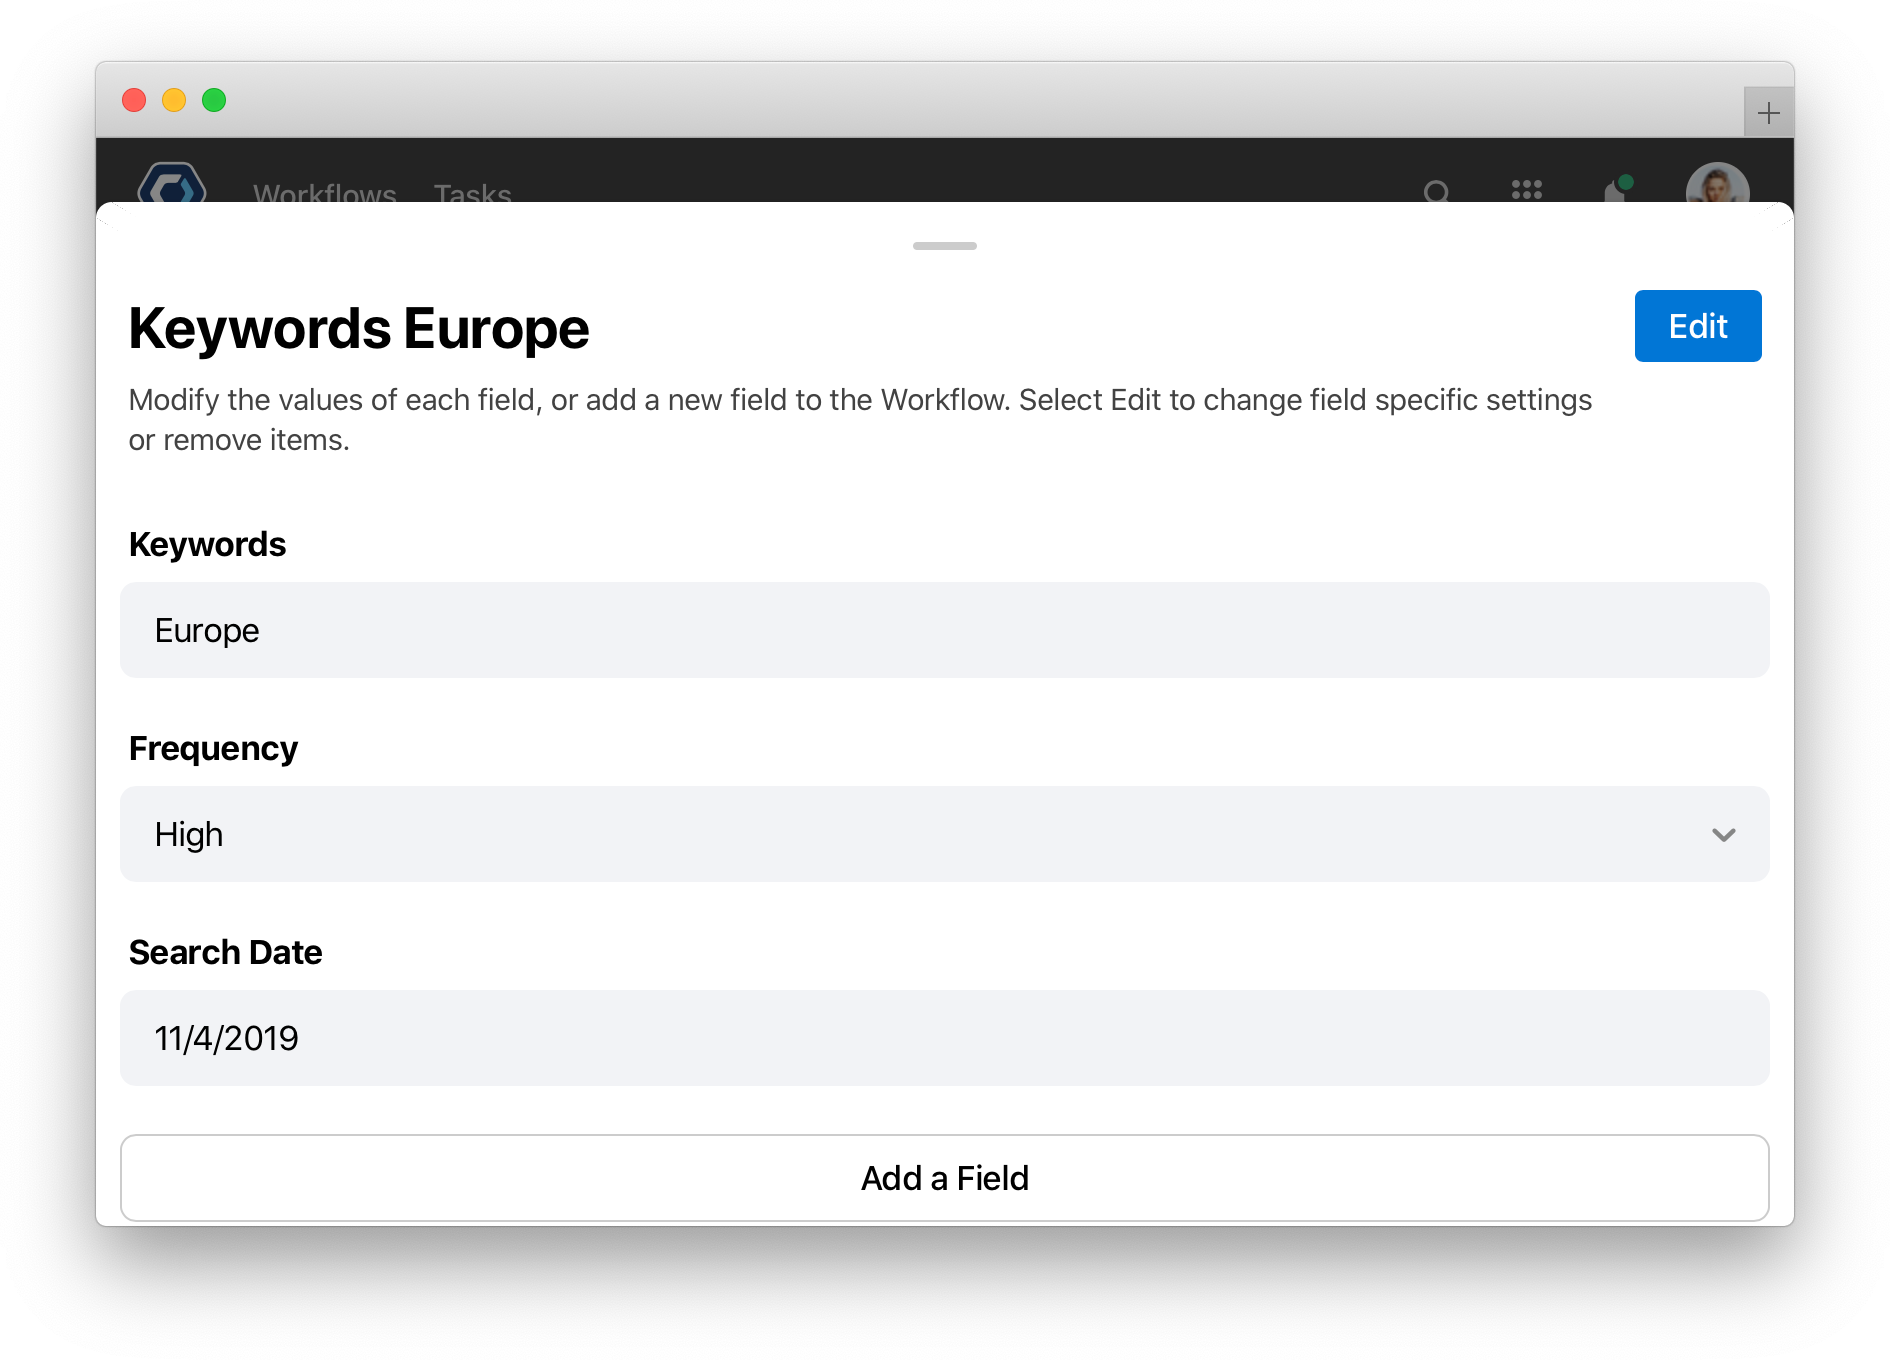
From the view row screen, you can add a field, remove rows, or edit and remove existing fields.
Add a new field to the row
-
From the edit row screen, select Add a Field to add a new field to the row. Adding a field to a row is the same as adding a column.
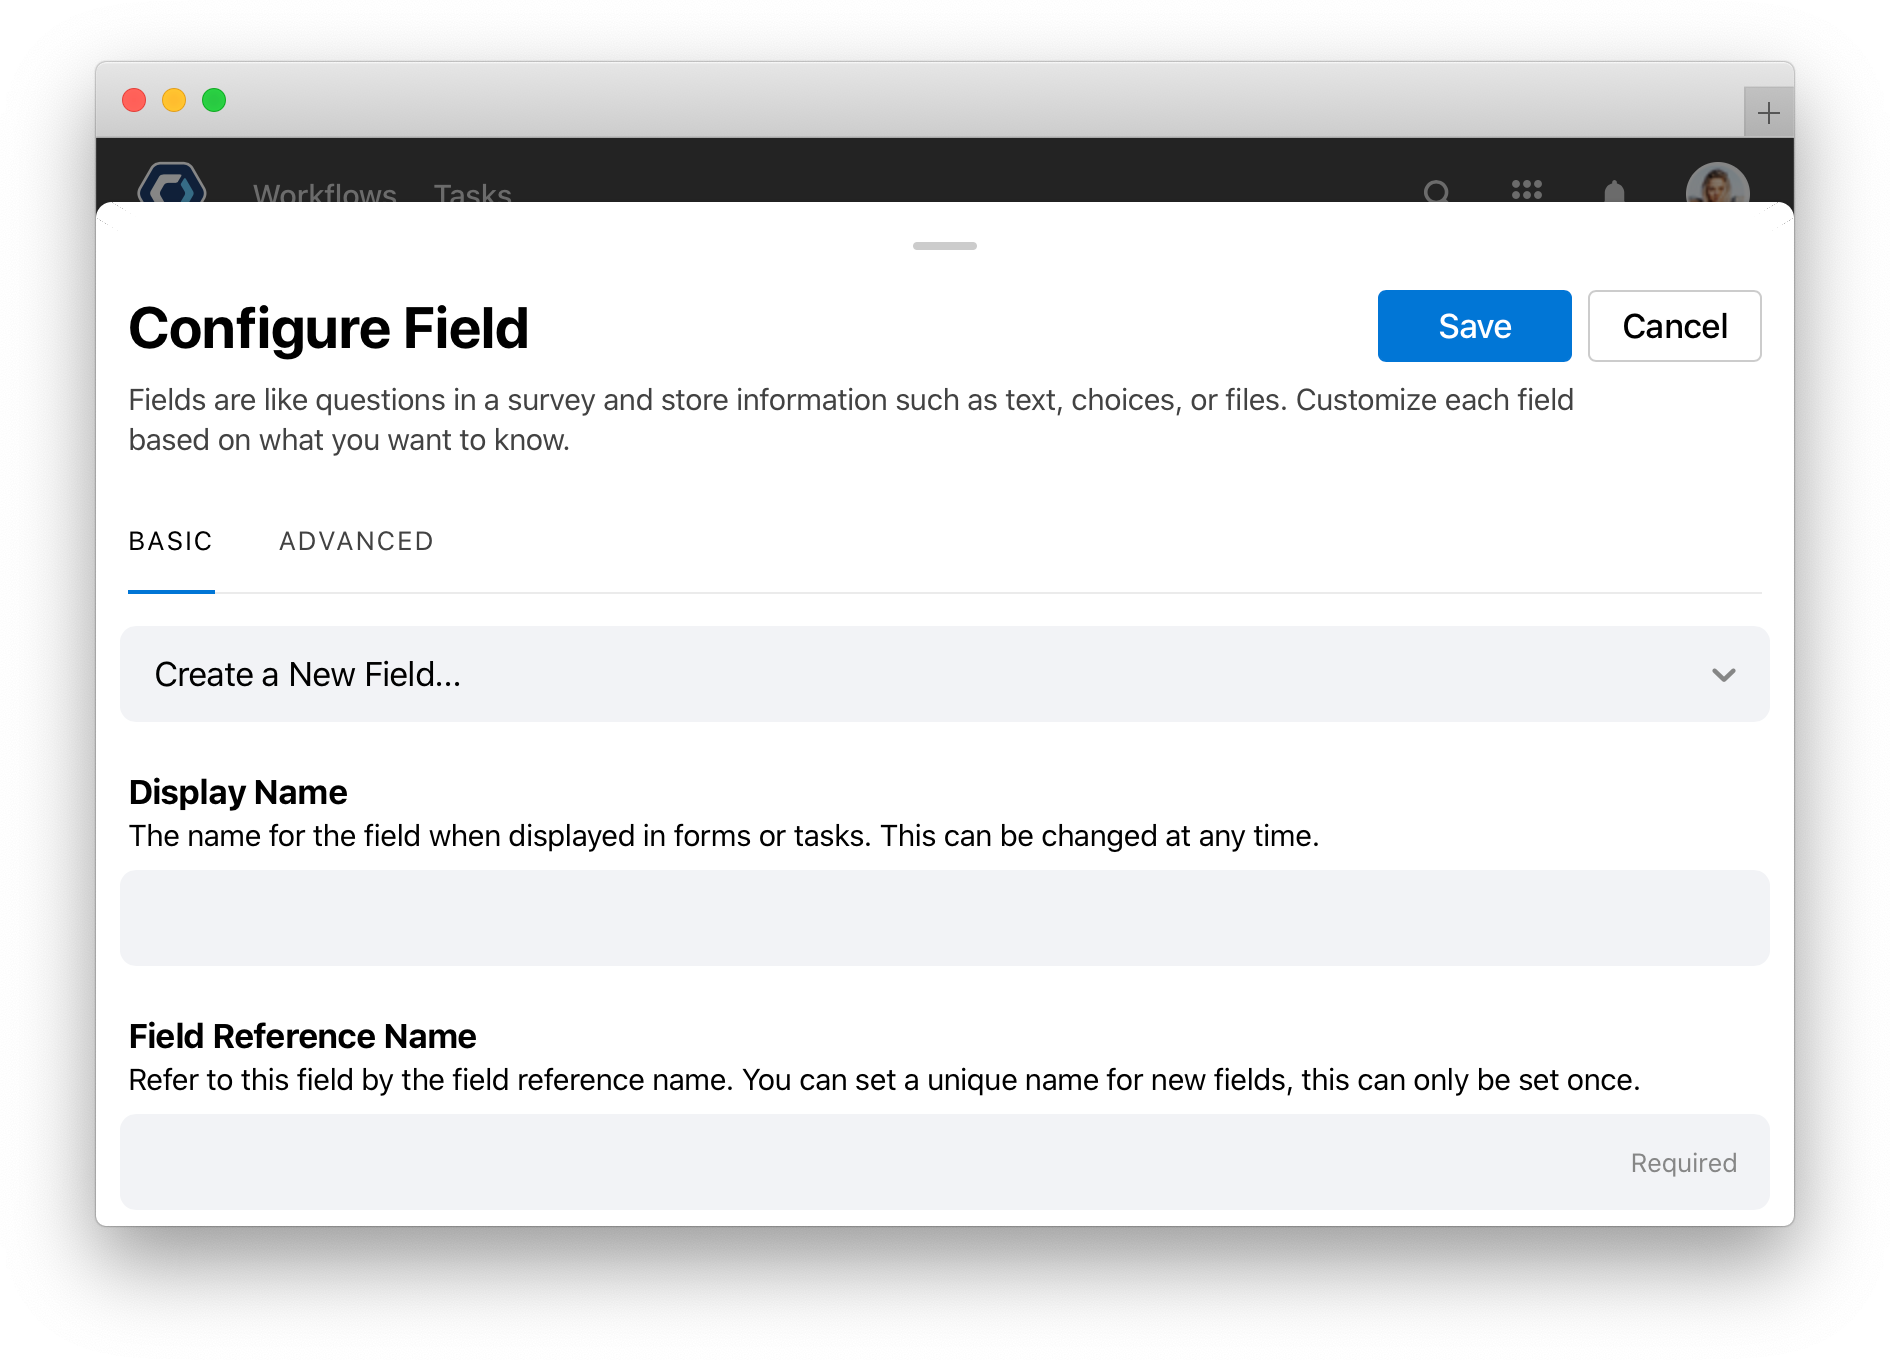
- On the edit column screen, change different header settings:
- The field title is the name or label of the field.
- The field type determines what data the column accepts. For example, an integer column only accepts whole numbers. See the field types article for details on each type.
- Require data in each field restricts whether the field can have an empty value.
- Select
Edit or remove fields in a row
- From the edit row screen, select
 to open the edit field window and adjust row properties.
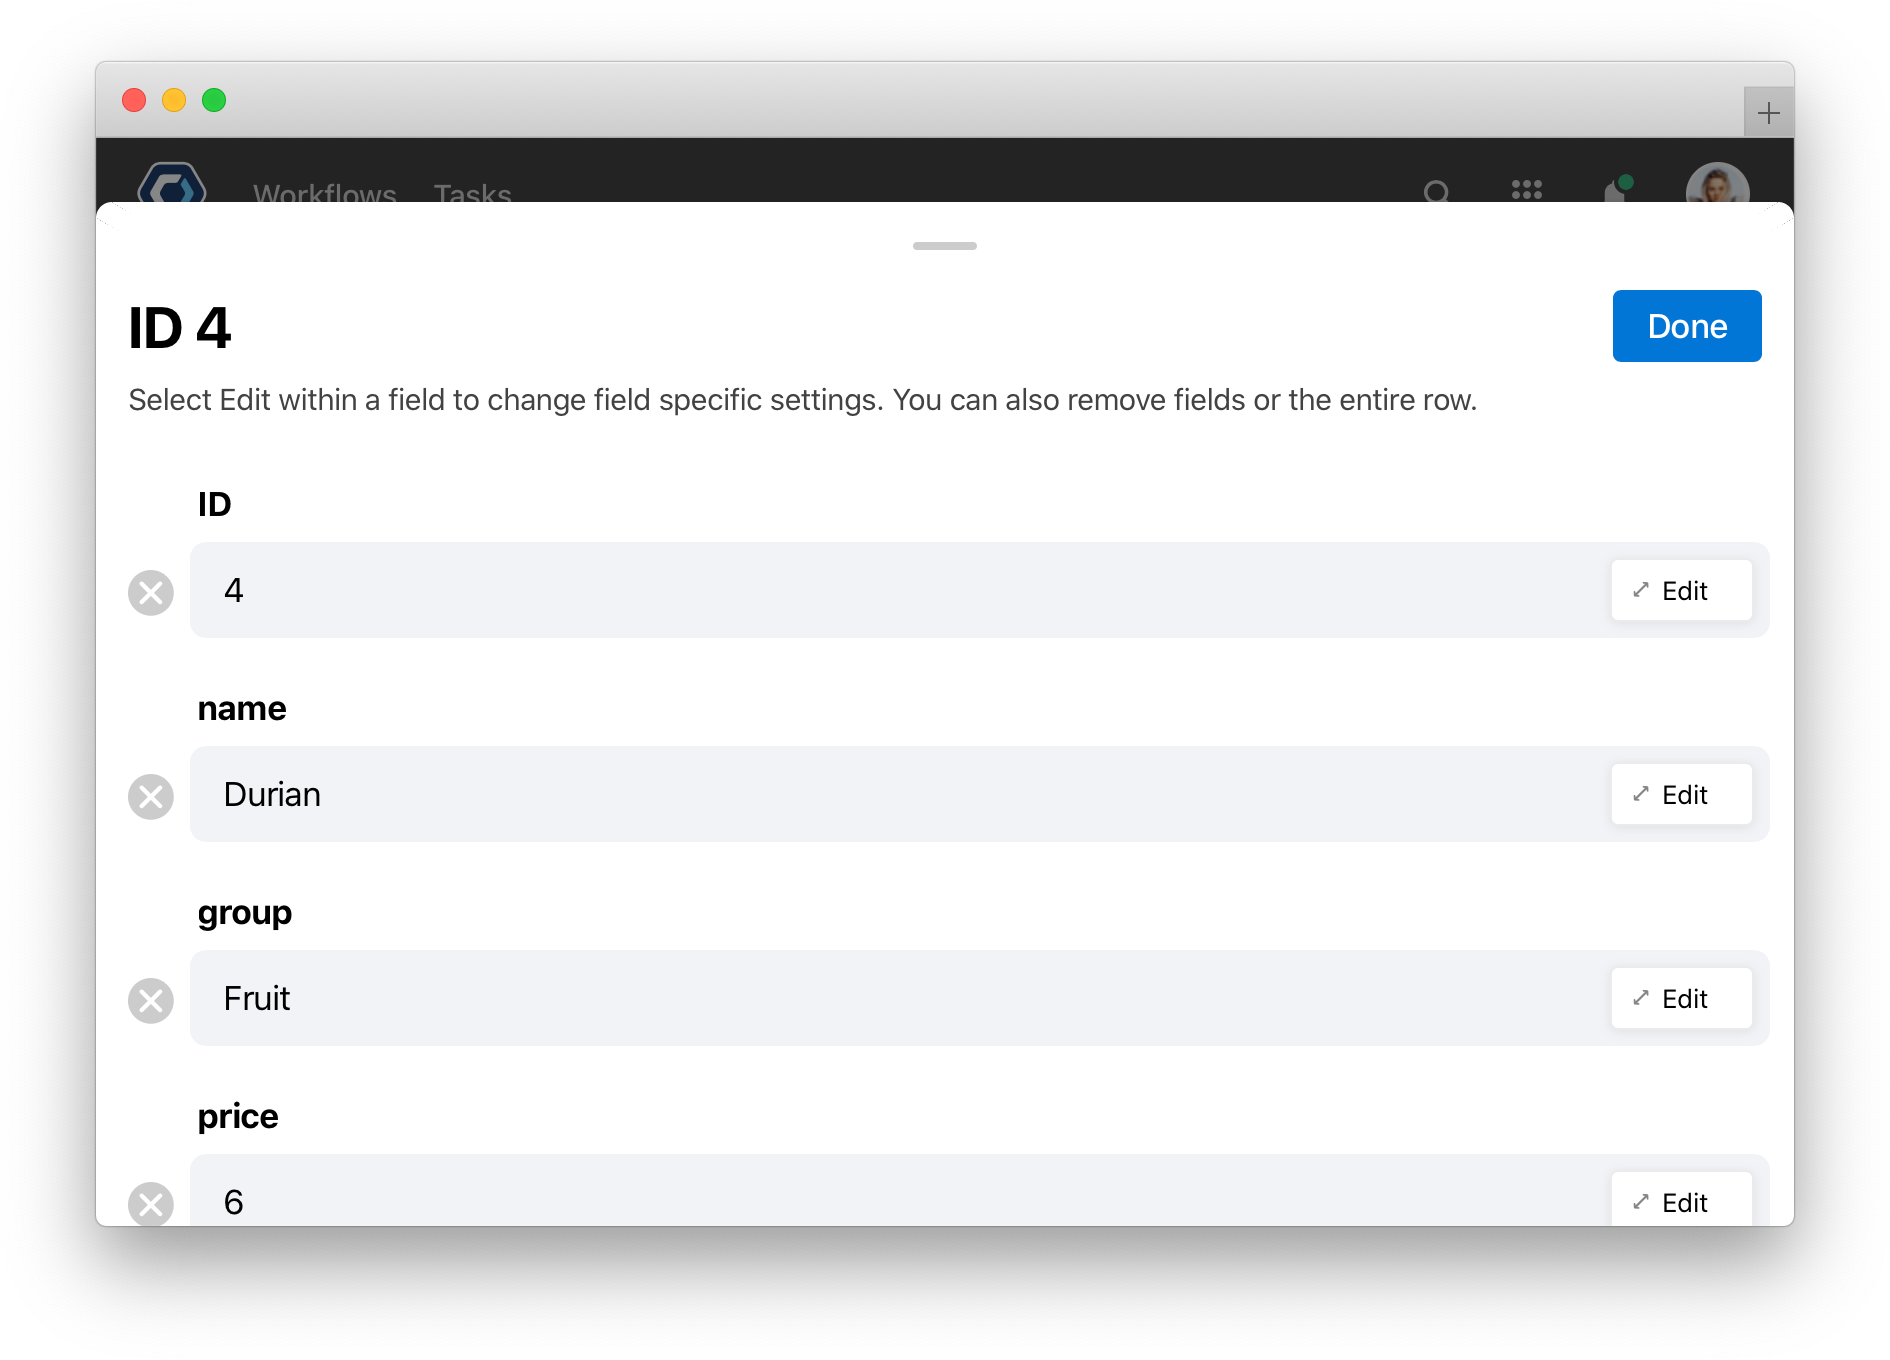
To delete a field select  . This is effectively deleting a column.
To remove a row select the red Remove a Row at the bottom of the screen. This will remove the entire row entry, but will not affect other fields.
To edit and change field settings select  for the field you wish you edit.

- On the Edit Field screen, change different field settings:
- The field title is the name or label of the field.
- The field type determines what data the column accepts. For example, an integer column only accepts whole numbers.
- Require data in each field restricts whether the field can have an empty value.
- Select
 to remove the field.
- Select

Remove a row
-
To remove a row, hover over the first field in a row, then select the
button. This opens the view row screen.
-
From the view row screen, you can add a field, remove rows, or edit and remove existing fields. Select
.
-
To remove a row select the red Remove a Row at the bottom of the screen. This will remove the entire row entry.
Rename a data table
- Select next to the table name and select Rename
- Enter a new table name.
- Select
Renaming a table will not affect any associated automation since data tables are referenced by a fixed Data Table ID and not their table name. The data table name is for convenience and makes using tables easier.
Edit the column header and details
- Select within the field header to edit field details
- On the edit field screen, change different field settings:
- The Field title is the name or label of the field. See the note below about changing field titles
- The field type determines what data the field accepts. For example, the integer field only accepts whole numbers
- Require data in each row restricts whether a field can have an empty value
- Select

note
- Note: If you edit the Field title, the field reference for the field will not change with the name change. The initial label is permanent and any changes will not change the field reference’s
{{field-name}}.
Note that changing a table used in an active Workflow process may cause the process to fail. Since the columns of the table correspond to fields, any changes to a column will also change every instance of the associated field. For example, if a text type field: name was changed to the integer type, the next Workflow instance would only accept whole numbers for the name.
Test any Workflow associated with the data table after editing field details like field type or the field title, and only make the changes if associated Workflows are paused or not active.
Add data from another file
Use this function to add on data from a CSV or XLSX file to the data table. No data will be replaced. To ensure no data is overwritten, the XLSX or CSV file must have the same number of columns, same column names, and same column order as the data table.
- Select next to the table name and select Add Data from file
- Select an Excel XLSX or CSV file to upload and determine the row with the data labels
- Select
Replace data with another file
Use this function to replace all data in the data table with a CSV or XLSX file. All rows, columns, and data are fully replaced. There is an additional warning before being able to make this change. This change is irreversible.
- Select next to the table name and select Replace with file
- Select an Excel XLSX or CSV file to upload and determine the row with the data labels
- Select

💡 Tip: Things like images, shapes, or file objects will not be included from the XLSX when uploaded to the table in PagerDuty Workflow Automation.
Thanks for your feedback
We update the Help Center daily, so expect changes soon.
Link Copied
Paste this URL anywhere to link straight to the section.