 Workflows
Workflows automate business processes. To automate a business process, a Workflow has different pieces and elements to make that happen: the trigger, tasks and actions, data tables, predictive models, and more. A Workflow could be built to automate creating a monthly report, automate the onboarding process for a new hire, or more.
When working with a Workflow, an instance of it is started to manage a specific process instance. For example, If you’re running a “Update Spreadsheet” Workflow, one instance would be started for each update.
💡 Tip: Are you new to PagerDuty Workflow Automation? Get up to speed fast and learn the basics of automation and building with Workflows with the Customize and Generate a Document guide, or the Starter Templates.
How to create a new Workflow 
After you create a Workflow, you get to construct each part of it, like setting the sequence of tasks that should run, the trigger that initiates it, and the rules that should be followed every time an instance is started.
- Select Workflows from the top navigation bar
-
Select
 near the upper-right corner.
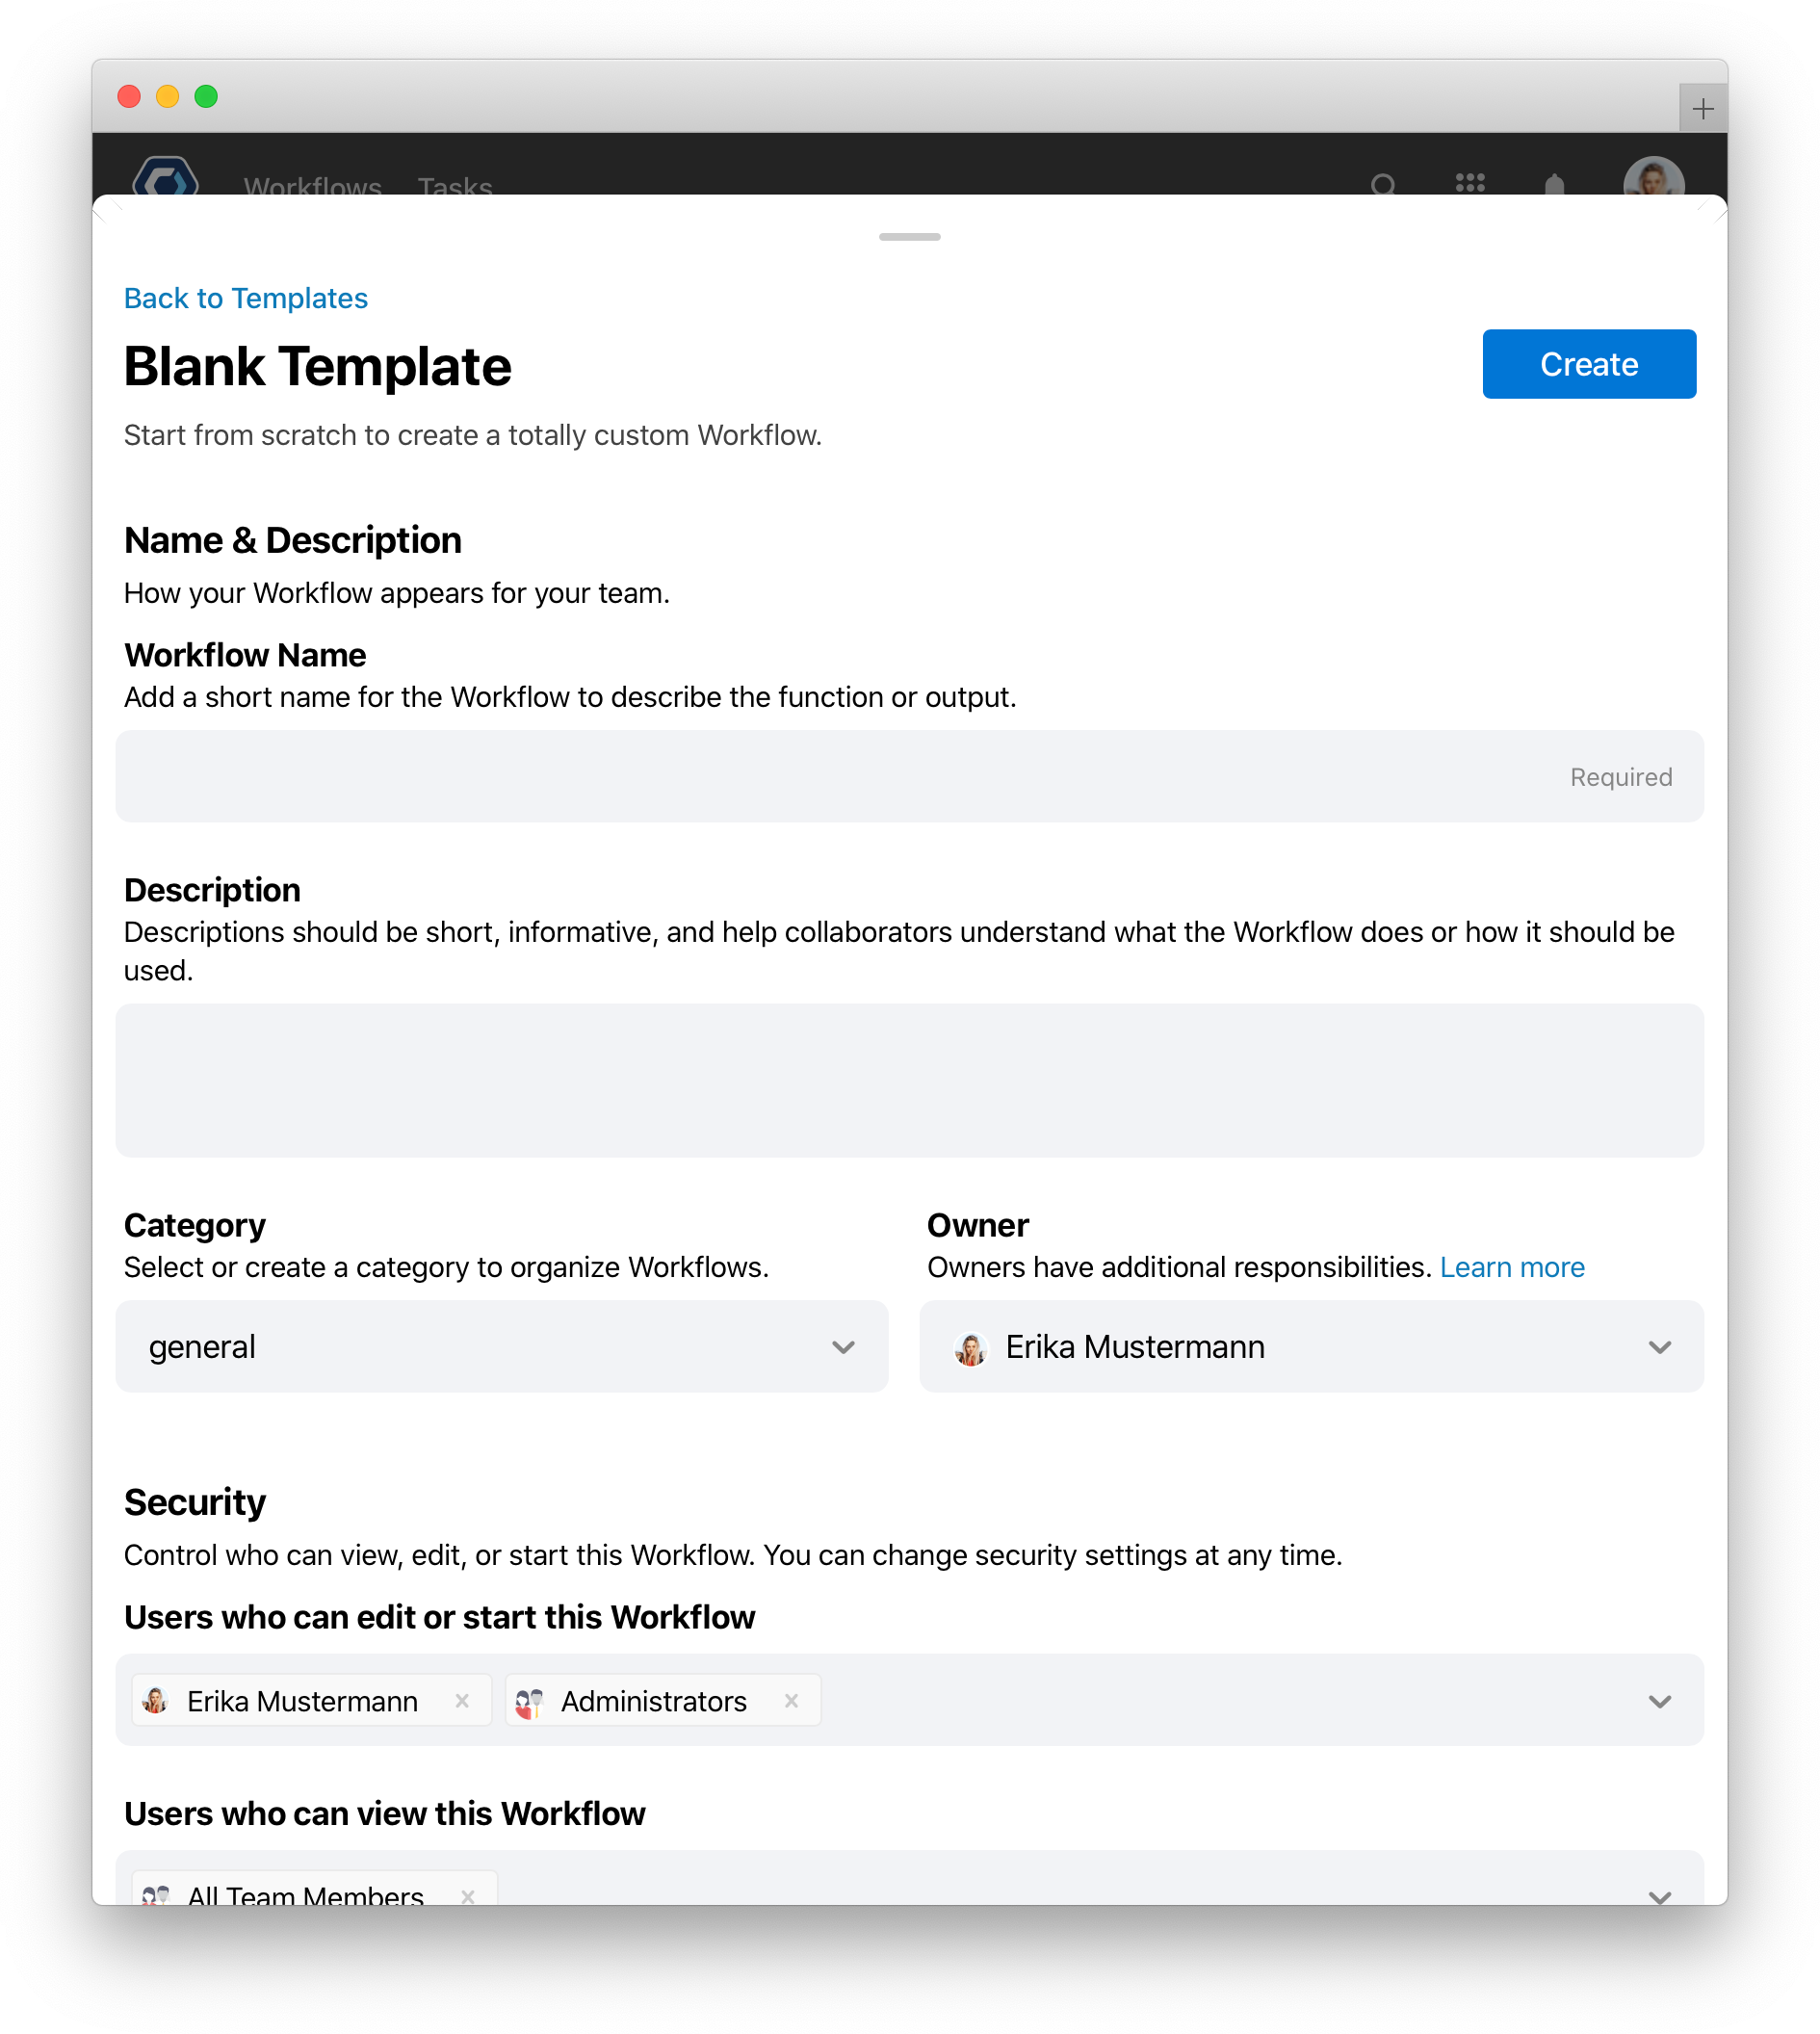
At this point, a series of steps guide you through setting up a Workflow for the first time. - Add basic information about the Workflow, like the name, description, category, and owner
- Add a trigger to start new instances of this Workflow. You can have multiple triggers starting the same Workflow. For example, an incoming email or when someone submits a form could both be triggers
- Add the actions, which are the instructions for what this Workflow does each time it starts. For example, after a trigger, the Workflow parses an incoming email for key words and sends an dynamic response
- Add any optional data tables or Helper Workflows which expand the capabilities of a Workflow—these can be added later too.
- To set permissions, Select
 at the top of the page and select Permissions
How to manage an existing Workflow
After you’ve created a Workflow, you can check the Workflow detail page to view and manage it. If you create a new Workflow, you automatically have edit rights; other members of a team must have edit rights enabled manually. If you cannot edit a particular Workflow, reach out to a team admin.

- Select Workflows in the top navigation bar
- Select a Workflow, this will open the Workflow detail page.
From the detail screen you can start a new instance of a Workflow, edit and configure the Workflow, check any associated data tables, view your Workflow Insights and see an overview of all active or completed instances.
Start a new instance
Select  in the upper-right corner to start a new instance.
After you set up a Workflow, you can run it and automate work. Every time you start a Workflow, you are starting an “instance” of it. For example, if you’re running a “Vacation Request Approval” Workflow, one instance would be started for each vacation request. See Workflow instances for more information on instances.
Edit and configure the Workflow
Select  in the upper-right corner to get to the Workflow Builder screen.
The Workflow Builder is where you can build and lay out actions. The actions are the steps your Workflow performs each time it starts. See Workflow Builder for more information on adding steps to Workflows.
View Workflow instances
Every instance that starts is tracked and listed on the Instance tab of the Workflow’s detail screen. When an instance starts, it appears here. For each instance, you can see a summary of the details, including the instances current milestone. Click any instance to open the Instance detail page and see progress for each step.
You can quickly check on the health or status of an instance based on it’s milestone.
Understanding instance status and milestones
Every instance has a status, such as Completed or In Progress. The status tells you what’s going on in your process.

| Instance status | Description |
|---|---|
 |
The instance is active, with steps still waiting to complete. |
 |
The instance was completed. |
 |
The instance has been ended manually or by an action. This is different than completed. |
You can also create unique, custom statuses called milestones using the Workflow: Create a milestone for your Workflow action. For example, you could set up your onboarding Workflow to cycle through statuses like “Screening”, or “Interview” to express how far along or what phase the process is in.
Check Workflow insights
Click the Insights tab on the Workflow detail page to view a dashboard for your Workflow. The insights page is not visible until at least one run has completed.
The Workflow Insights screen gives you data on your Workflow’s performance over the last 50 instances. Only completed and canceled instance and task data is included on the insights page.
Access data tables
Click the Data tab to view all tables associated with the Workflow. When you reference a data table in a step, it is associated with the Workflow.
Where to find more information on editing and working with a Workflow
For general guidance on building a Workflow and learning about basic PagerDuty Workflow Automation concepts, check the Building Workflows section for detailed guides and articles on building a Workflow.
For details on how to configure automated actions, check the Actions & Triggers section for guides for each of our automated actions.
For details on how to set up triggers, visit the Triggers section.
To learn how to connect PagerDuty Workflow Automation to other apps and systems, see the Integrations section.
Thanks for your feedback
We update the Help Center daily, so expect changes soon.
Link Copied
Paste this URL anywhere to link straight to the section.