 Add Steps to your Workflow
Each Workflow follows a series of steps. When you create an action in your process, it is one step in the Workflow. You add these steps from the Workflow Builder page, in a checklist style fashion.

Once you create a Workflow, you can add, configure, reorder and delete steps. When a process is running, each step is started one after another based on the dependencies and conditions. As the process progresses, the process and tasks have statuses that show you what’s going on.
How steps work 
All Workflows in PagerDuty Workflow Automation are assembled together like building blocks. Each building block is an automation or manual action that’s executed, step by step, as part of the Workflow. A flowchart is a great way to imagine how these blocks come together.

PagerDuty Workflow Automation has a library of actions that work with Excel, Google Drive, PowerPoint and many other files and applications. These actions can be mixed and matched to automate work. Whatever the actions used, they can be combined together into a process automated with a Workflow. So these 3 steps could be anything, for example:
With PagerDuty Workflow Automation, the mundane or repetitive tasks are automated with a Workflow, while the creative and high value work is still done by people. PagerDuty Workflow Automation helps orchestrate and coordinate that work between automation and people.
Understanding step status and milestones
Every step has a status, such as Pending or In Progress. The status tells you what’s going on in your process, and each task.
| Step status | Description |
|---|---|
 |
The step has not started, and is waiting for the dependencies to be met. |
 |
The step has started, but is snoozed. It will recheck the conditions after the delay. |
 |
The step has started, but is delayed. It will recheck the conditions after the delay. |
 |
The step was skipped because the dependencies or conditions were not met. |
 |
The step dependencies, conditions, and delays are met and the step has started. |
 |
The step was rejected, or canceled. If a step is reopened, a duplicate is made and the original is rejected. |
 |
The step was assigned and fully completed. |
You can also create unique, custom statuses called milestones using the Workflow: Create a milestone for your Workflow action. For example, you could set up your onboarding Workflow to cycle through statuses like “Screening”, or “Interview” to express how far along or what phase the process is in.
The step status also explains how or why your process is acting a certain way. Each task has a lifecycle. Depending on how a process is configured, or how different conditions are met, a task may go from Pending, to Delayed, to In Progress, and back to Pending again. The diagram below explains the basics of this task lifecycle. All tasks start at Pending:

How to add or configure steps
Steps are used in every Workflow. Navigate to the Workflow build page to work with steps.
- Select Workflows from the top navigation bar
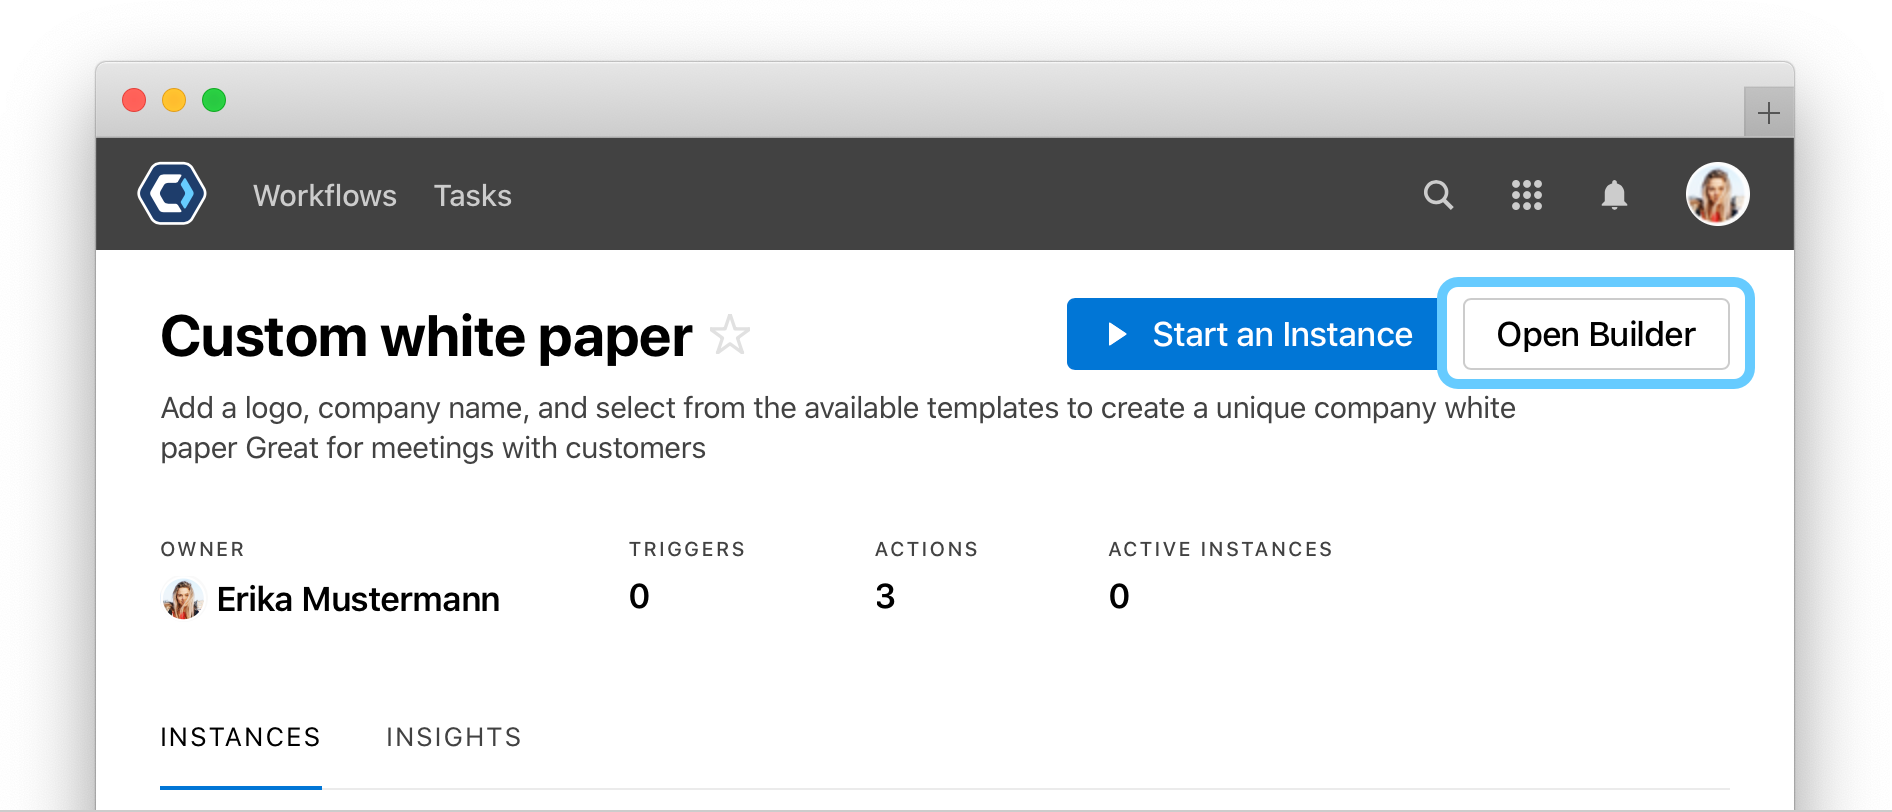
- Choose a Workflow, this will open the Workflow detail page
- Select
 in the upper-right corner to get to the Workflow Settings page
 - From the Workflow Settings page, head to your steps, under Actions
From the build page, add, configure, reorder, or delete steps.
Add a step
By default, when you add new steps, they start after the previous step is completed or skipped. To set up more complex dependencies, you can set it manually. See the dependencies article for more information.

- Select
 , type the name of the step
 - Select Add step or hit Enter
After you add a step, it immediately expands and can be configured. To add multiple steps quickly without configuring them you can quickly add steps.
Quickly add a new step
To quickly add steps without configuring them, hit CTRL + Enter or CMD + Enter on a Mac after you enter the step name.
By default, when you add new steps, they start after the previous step is completed or skipped.
Add a step in between two steps
To quickly add a step between other steps, hover over any step you want to add a step after, select the ![]() on the left, and select Add a step.
on the left, and select Add a step.

By default, when you add new steps, they start after the previous step is completed or skipped.
Configure a step

Click a step to configure it.
Every step performs a specific action from PagerDuty Workflow Automation’s action library. For instructions on configuring each action, browse our action section.
Reorder steps

To reorder steps: click, hold, drag, and drop the step.
💡 Tip: The order of the steps on the build page does not determine the actual order of the process. Use conditions and dependencies to define the structure and flow of your Workflow.
Delete a step
- Select or over hover the step to delete, and select
 on the right side of the step
 - A confirmation window will appear, select Ok
Thanks for your feedback
We update the Help Center daily, so expect changes soon.
Link Copied
Paste this URL anywhere to link straight to the section.