 Make your web forms GDPR compliant
If you use web forms in your automation and use the forms externally, you may need to meet GDPR compliance rules. To help be GDPR compliant, you should add privacy links to your web forms.
With this method, you can add a unique text-only field to the bottom of your web forms with all the relevant privacy information. You can follow the same steps below for any web form.
How to add privacy links to web forms 
The following instructions apply for either a Web Form Trigger or when using the Email: Send a form action.
- From Triggers and Fields section of the Workflow Builder page, select Add a Field.
-
Name the field
Privacy Linksand choose theInstructionfield type.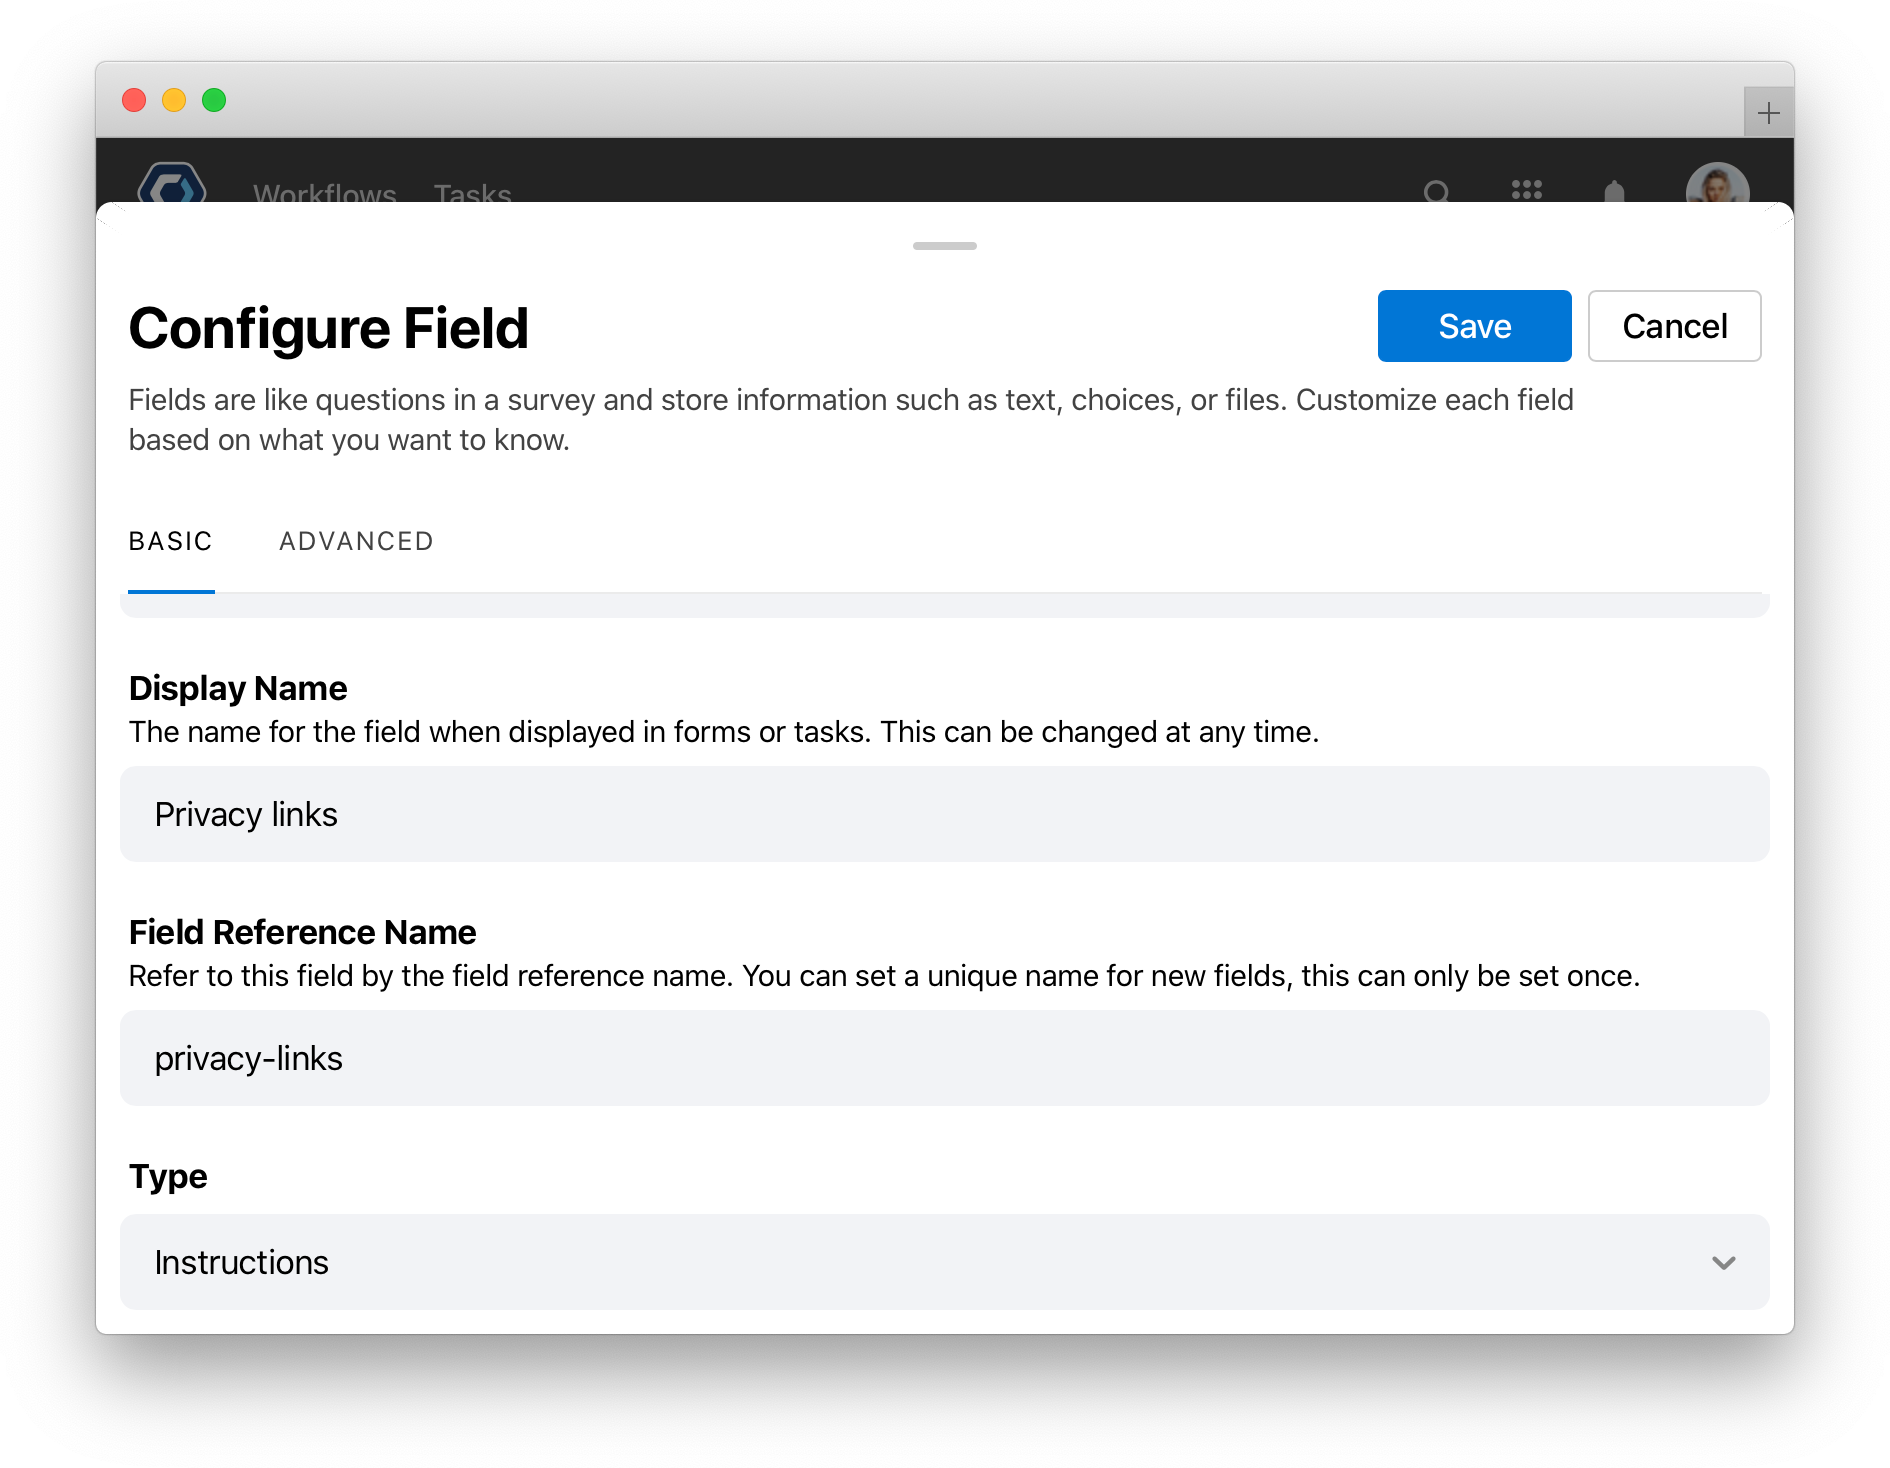
-
In the Instruction Text box, add the privacy links relevant for your company. For example:
© **Vandelay Industries 2020, all rights reserved** [Corporate Information](www.vandelayindustries-as-an-example.com/corporate-information) | [Legal Notice](www.vandelayindustries-as-an-example.com/legal-notice) | [Data Protection Notice](www.vandelayindustries-as-an-example.com/data-protection-notice) PagerDuty Workflow Automation is allowed to process data on behalf of Vandelay Industries. [Privacy Policy](https://www.example.org) | [Terms and Conditions](https://www.example.org) | [Cookie Policy](https://www.example.org) - Select
 at the top.
The instruction field accepts markdown formatting, so when you set up your own links to your privacy materials, note that they follow this format:
[This is a link](http://that-will-go-to-this-address.net/)
How to create a custom privacy page
If you need to create a page with a custom Data Protection Notice, you can create a web form in PagerDuty Workflow Automation with a disabled submit button—this is a great way to make a basic website you can share. You can learn more about customizing web forms in the Customize and add features to web forms article.
- Select Workflows from the top navigation bar, then select
 .
. - Select Blank Template, and input a name and description (these will not appear to customers).
- Select Next: Configure this Workflow.
- Click to open the Triggers and Fields section, and select Add a Trigger and select Web Form.
- Enter the Trigger name, Form title, Form instructions, URL.
- Select Done, then select the X in the upper-left corner.
- In the Triggers and Fields section, select Add a Field.
- Name the field Privacy Page and choose the field type of Instructions.
- Enter the privacy page details, using markdown formatting.
When linking to a Custom Privacy Page, append ?disable-submit=true to the end of the URL to disable the submit button. For example:
https://example.pushbot.com/form/privacy-links?disable-submit=true
Thanks for your feedback
We update the Help Center daily, so expect changes soon.
Link Copied
Paste this URL anywhere to link straight to the section.