 Turn data tables into JSON with an API call
You can return data from Data Tables in an API call by using a Webhook Trigger. These steps require importing a template. Start by downloading and importing the Data Tables to JSON template.

If you are unable to download the file, try to right click > save target as...
For more information, check the FAQ question on downloading files from help articles.
How to configure this template 
In this template, you’ll configure a Webhook Trigger to make it easy to turn different data tables into JSON. After you set it up, you can access any of your data tables as JSON data.
✅ Heads-up: PagerDuty Workflow Automation has a field size limit of 128kb. If a data table is large, it’s possible to hit this limit and create a fix task using this template. See Workflow system limits for more on these limits.
Import the Workflow
To get started with a template, first create a new Workflow, then import the .catalytic file.
- From any page, select Workflows from the top navigation bar.
- Select

- Select Import Template
- Drag and drop or select the
.catalyticfile - If necessary, enter the password.
- Select Next: Configure the Workflow
Congratulations! Because you imported the template, most of the Workflow configuration is already complete. We only have a few more steps before your process is good to go. After importing the template, you’ll land on the Workflow Builder page.
Add the Webhook trigger
-
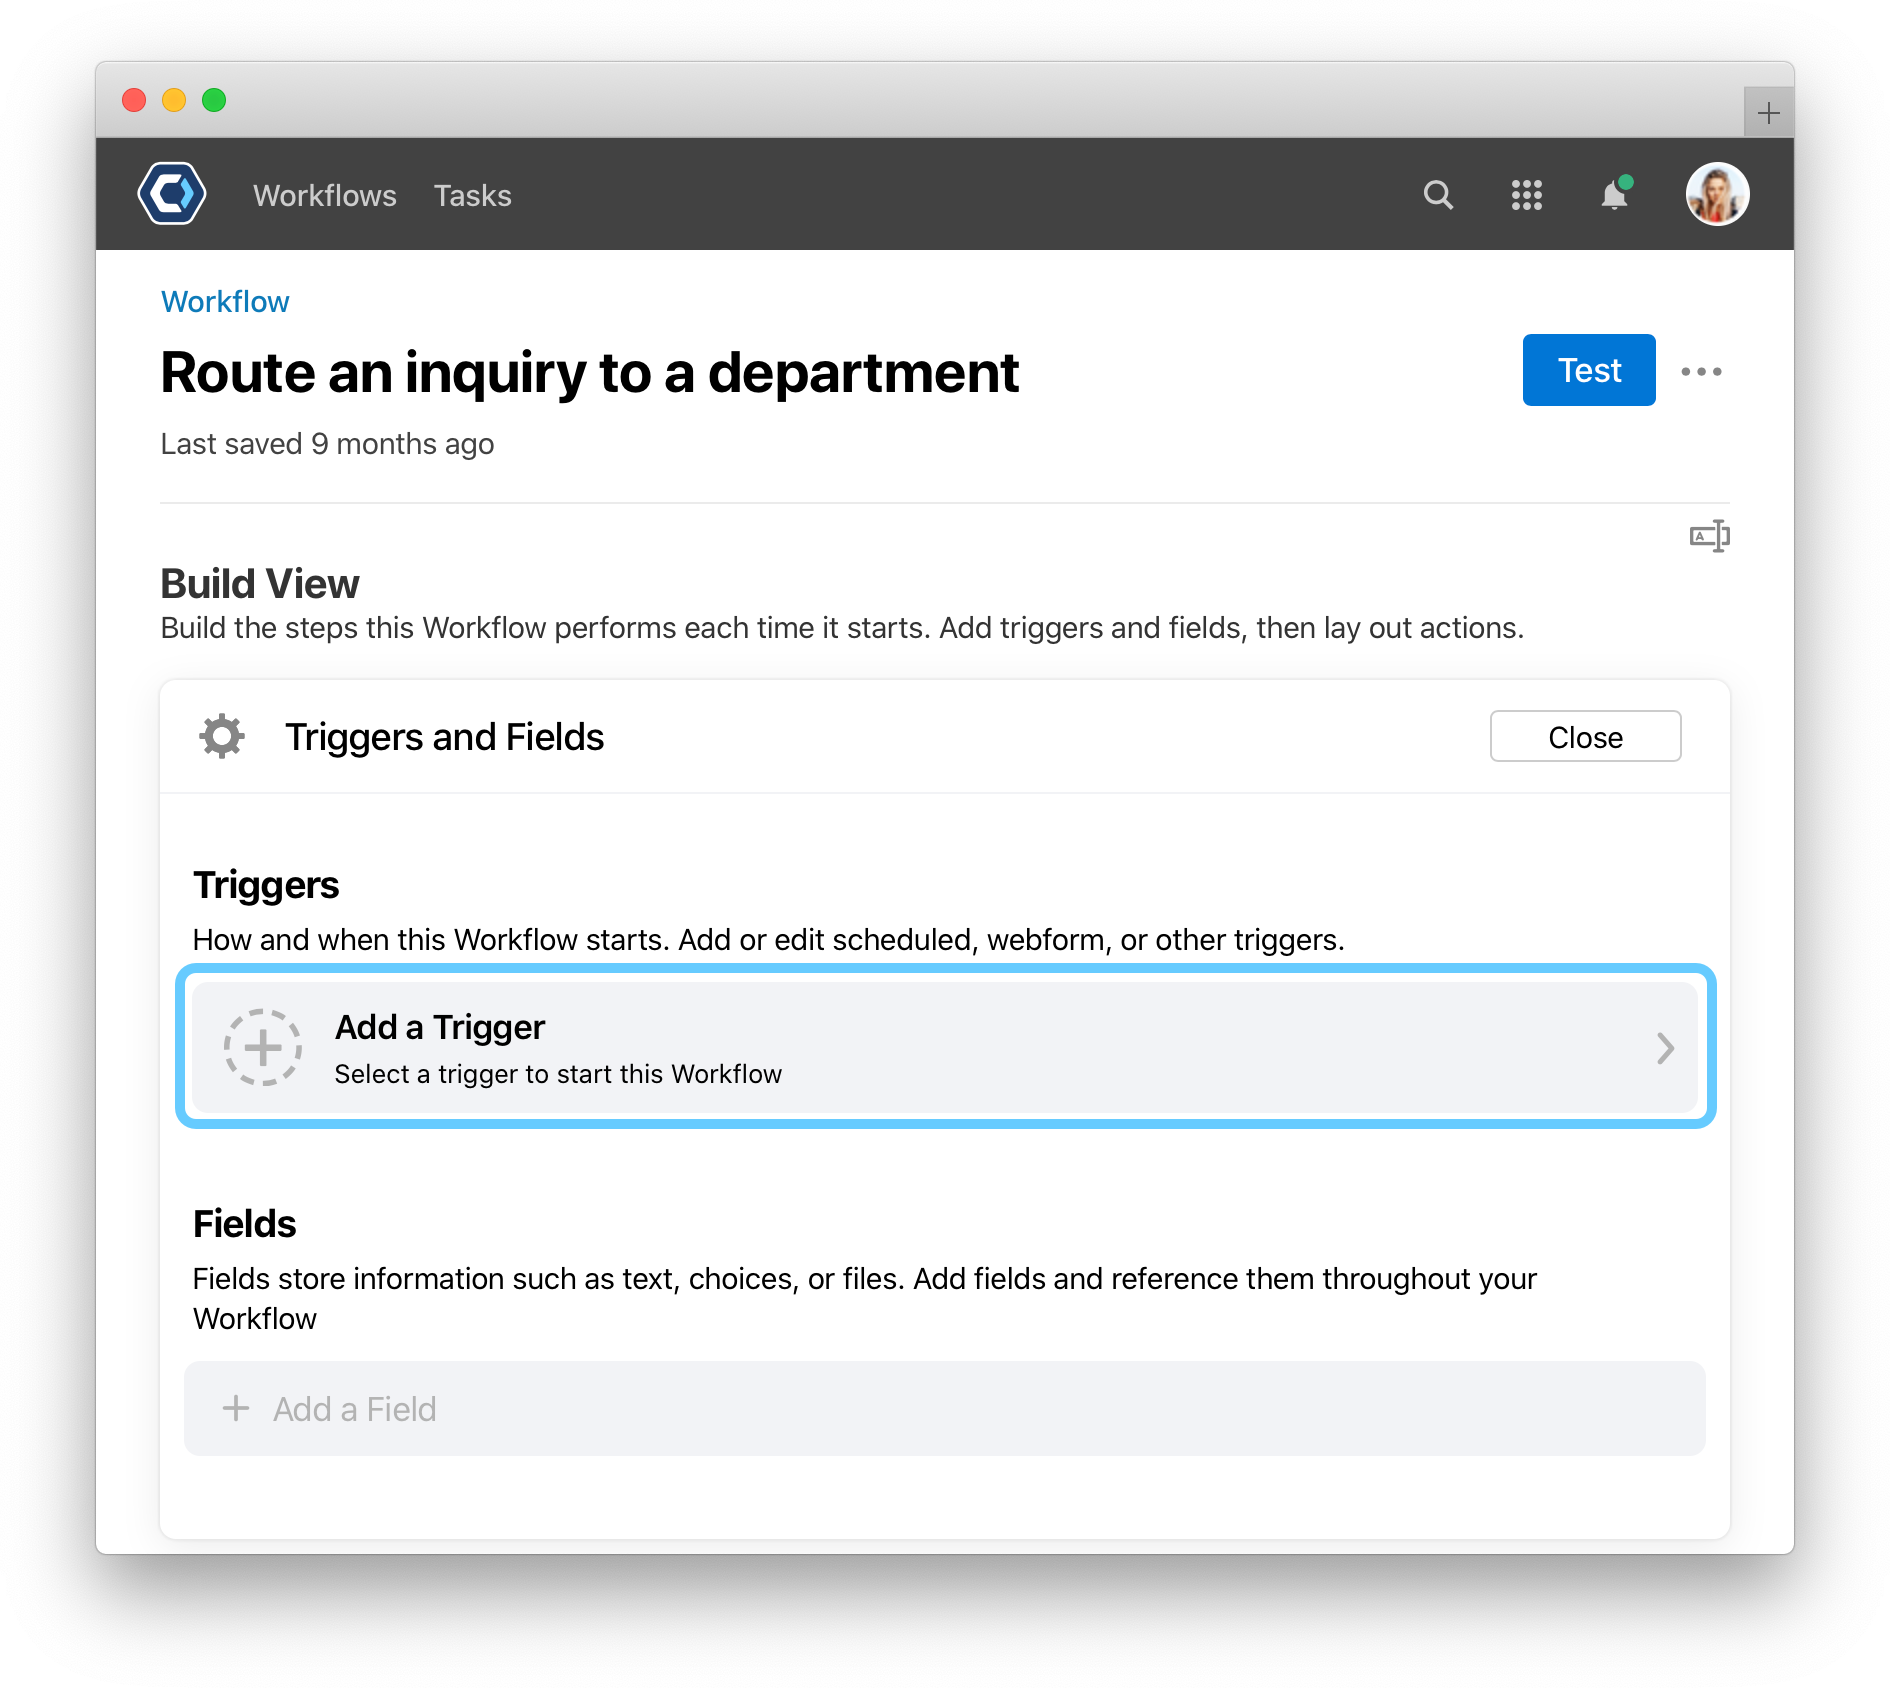
From the Workflow Builder page, head to your triggers under the Triggers & Fields section.
-
Select Add a Trigger. This opens the Select trigger type screen.
-
Select the Webhook type trigger. This opens the Create Webhook Trigger screen, where you enter in the trigger details.
- Trigger name:
Data table to JSON trigger - Trigger description: Set this to whatever works best for you.
- Wait for process to complete:
True - Do you want to receive a custom response:
True - Response Content-Type:
application/json - Response Template: Follow the format below to pass data to your workflow. Note that the
mytablevalue has 3 curly brackets to pass properly formatted JSON.
{ "mystring": "{{mystring}}", "mytable": {{{mytable}}} } - Trigger name:
-
Select

Make an API call
With the Webhook trigger set up, you’re now able to send a data-table-id to the trigger address and return JSON data. While you could set a single Table ID as an Instance Field and convert that table to JSON, passing it in the API call enables you to use this Workflow for multiple tables.
To do so, in the body of your API call, include the data-table-id of the table you’d like to return. For example:
{
    "data-table-id": "11111111-1111-1111-1111-111111111111"
}
How to find a table’s ID
First, find the table field within a process. It is easiest to find this field by checking the output fields for an entire process
From there, select and open the table. The table ID is available at the end of the URL. For example, for https://example.pushbot.com/tables/a526b85f-57a3-4a9a-ad14-8d0dfcedcca3, the table ID is a526b85f-57a3-4a9a-ad14-8d0dfcedcca3

If you’d like to filter the response, you can send additional fields in the body of the API call, and then use those fields in either of the actions: Tables: Apply filters or Excel: Apply filters.
Thanks for your feedback
We update the Help Center daily, so expect changes soon.
Link Copied
Paste this URL anywhere to link straight to the section.