 Dynamics Integration Setup Guide
Microsoft Dynamics is a suite of enterprise tools for CRM.
Integrations can only be set up by Admin users and are enabled per team. See our General Integration Information page for an overview of integrations and some recommendations when configuring new integrations.
Required Setup 
Configuring the Dynamics integration requires a registered Dynamics Client Secret and Client ID, which are used to authenticate a secure connection. Set up will require a Microsoft login and password from an Azure admin.
Once you have the Client Secret and Client ID from the steps below, fill out the secure Dynamics Credential Submission form. We’ll contact you once the integration is ready to use.
How to create the Client Secret
- Start from your Microsoft Azure Portal at https://portal.azure.com.
- Select Azure Active Directory on the left sidebar.
- Select App registrations in the panel that opens up.
-
Select New registration at the top of the new panel.

- In the “Register an application” page, fill in the following fields:
- Name: workflow-dynamics-integration
- Supported Account Types: Accounts in this organizational directory (Single Tenant)
- Redirect URI: https://security.pushbot.com/oauth
💡 Tip: Make sure the Redirect URI drop-down stays set to Web
-
Select Register.

-
After the app registers, select it on the app registrations page.
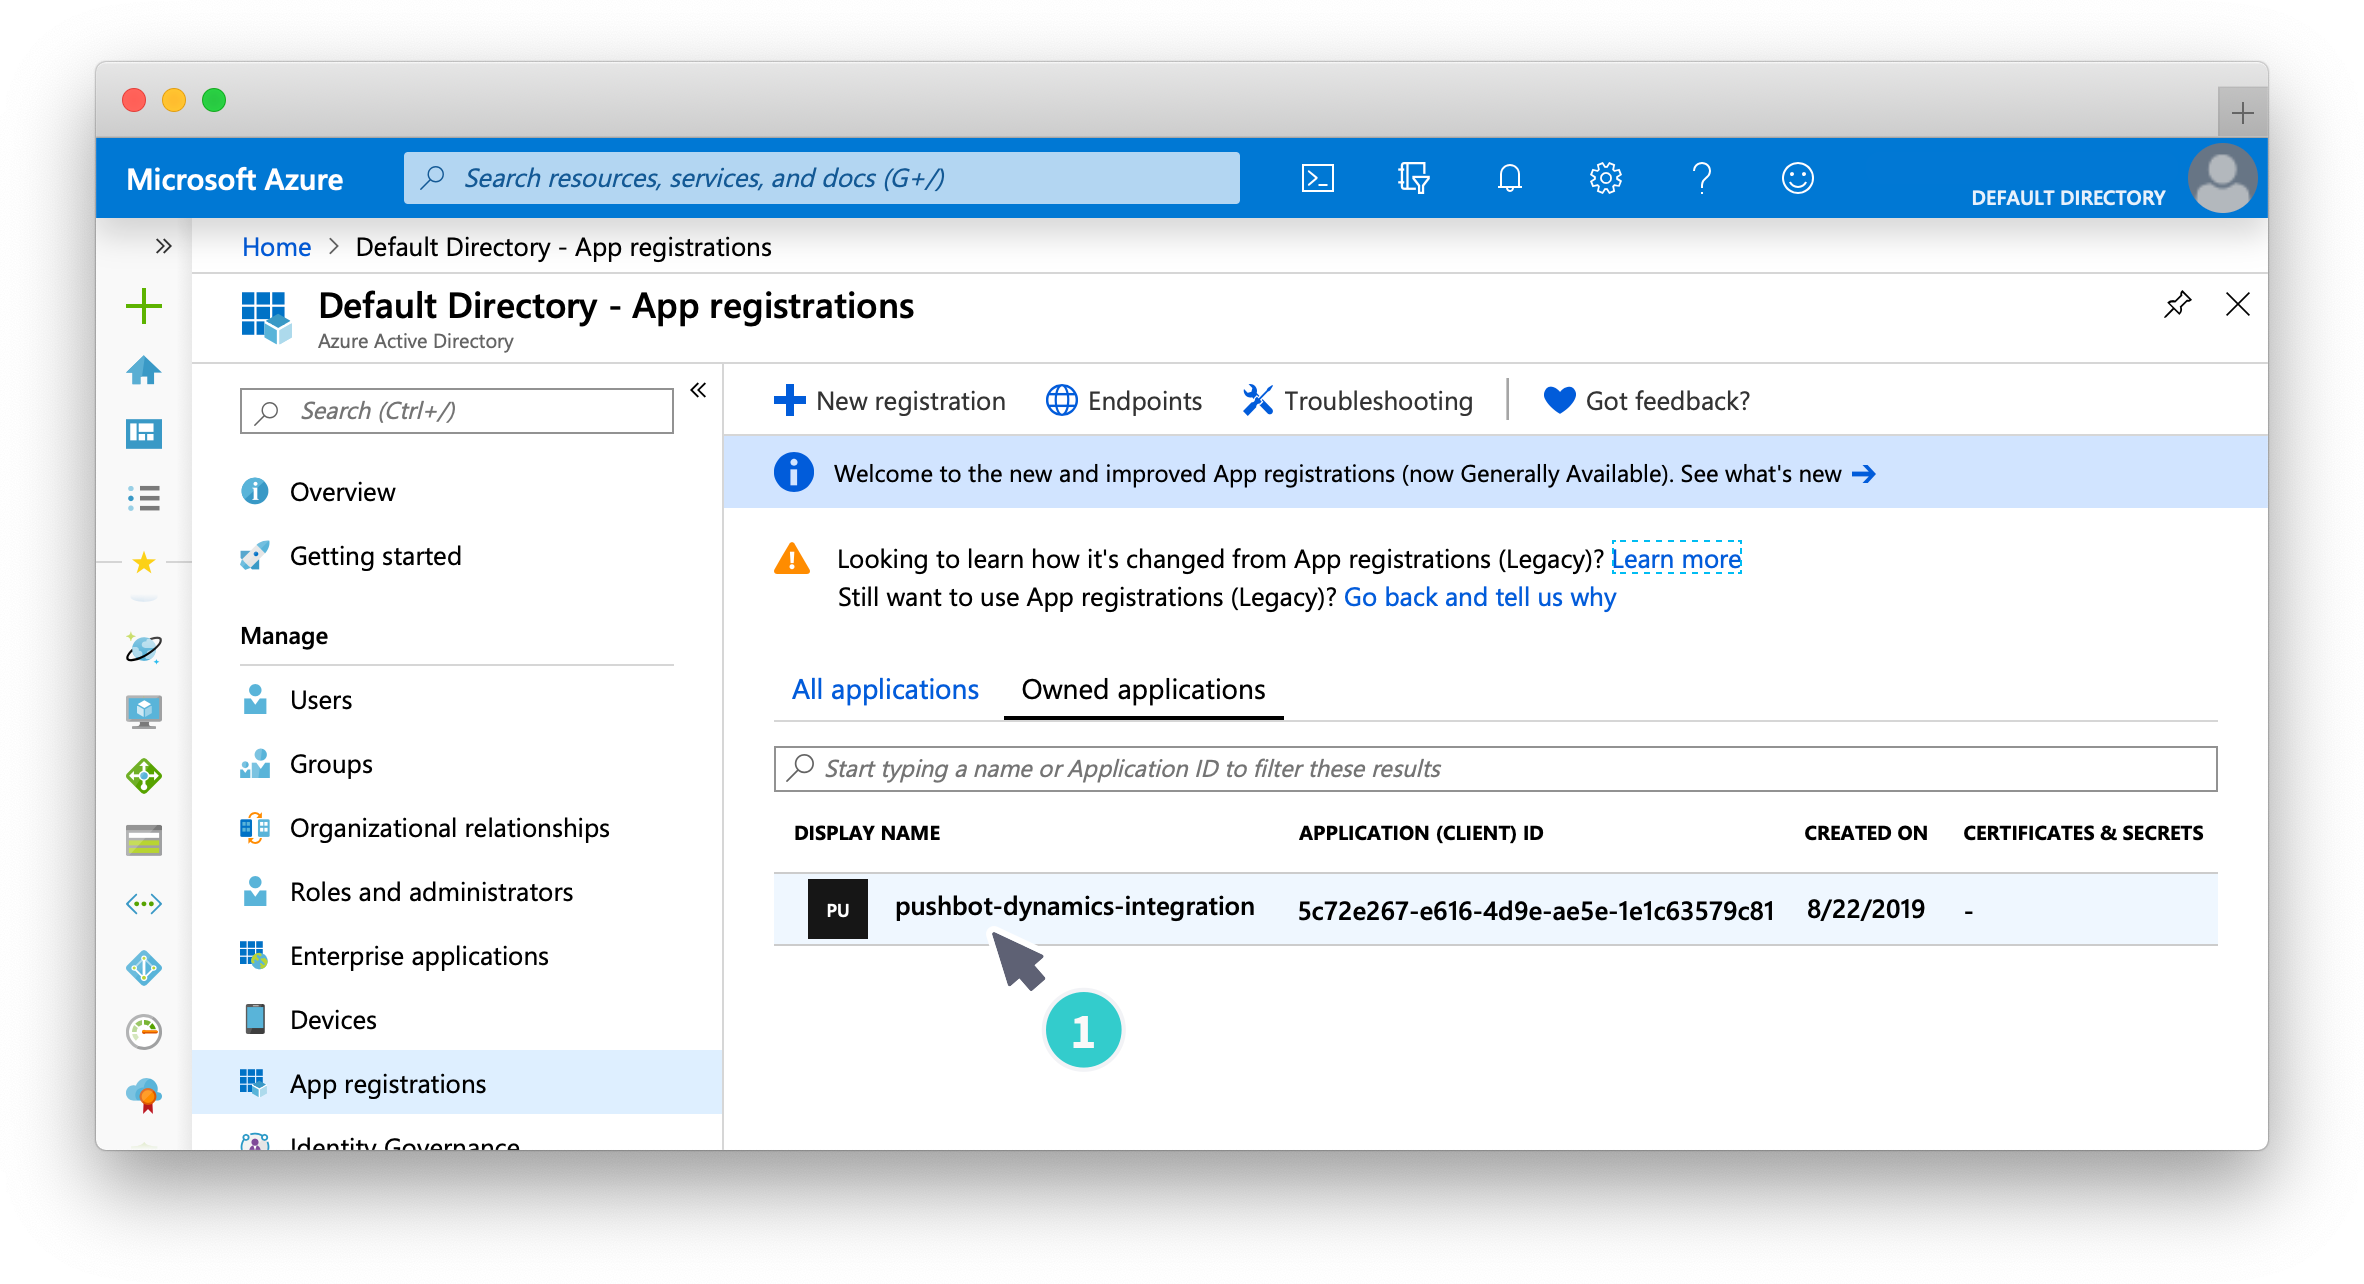
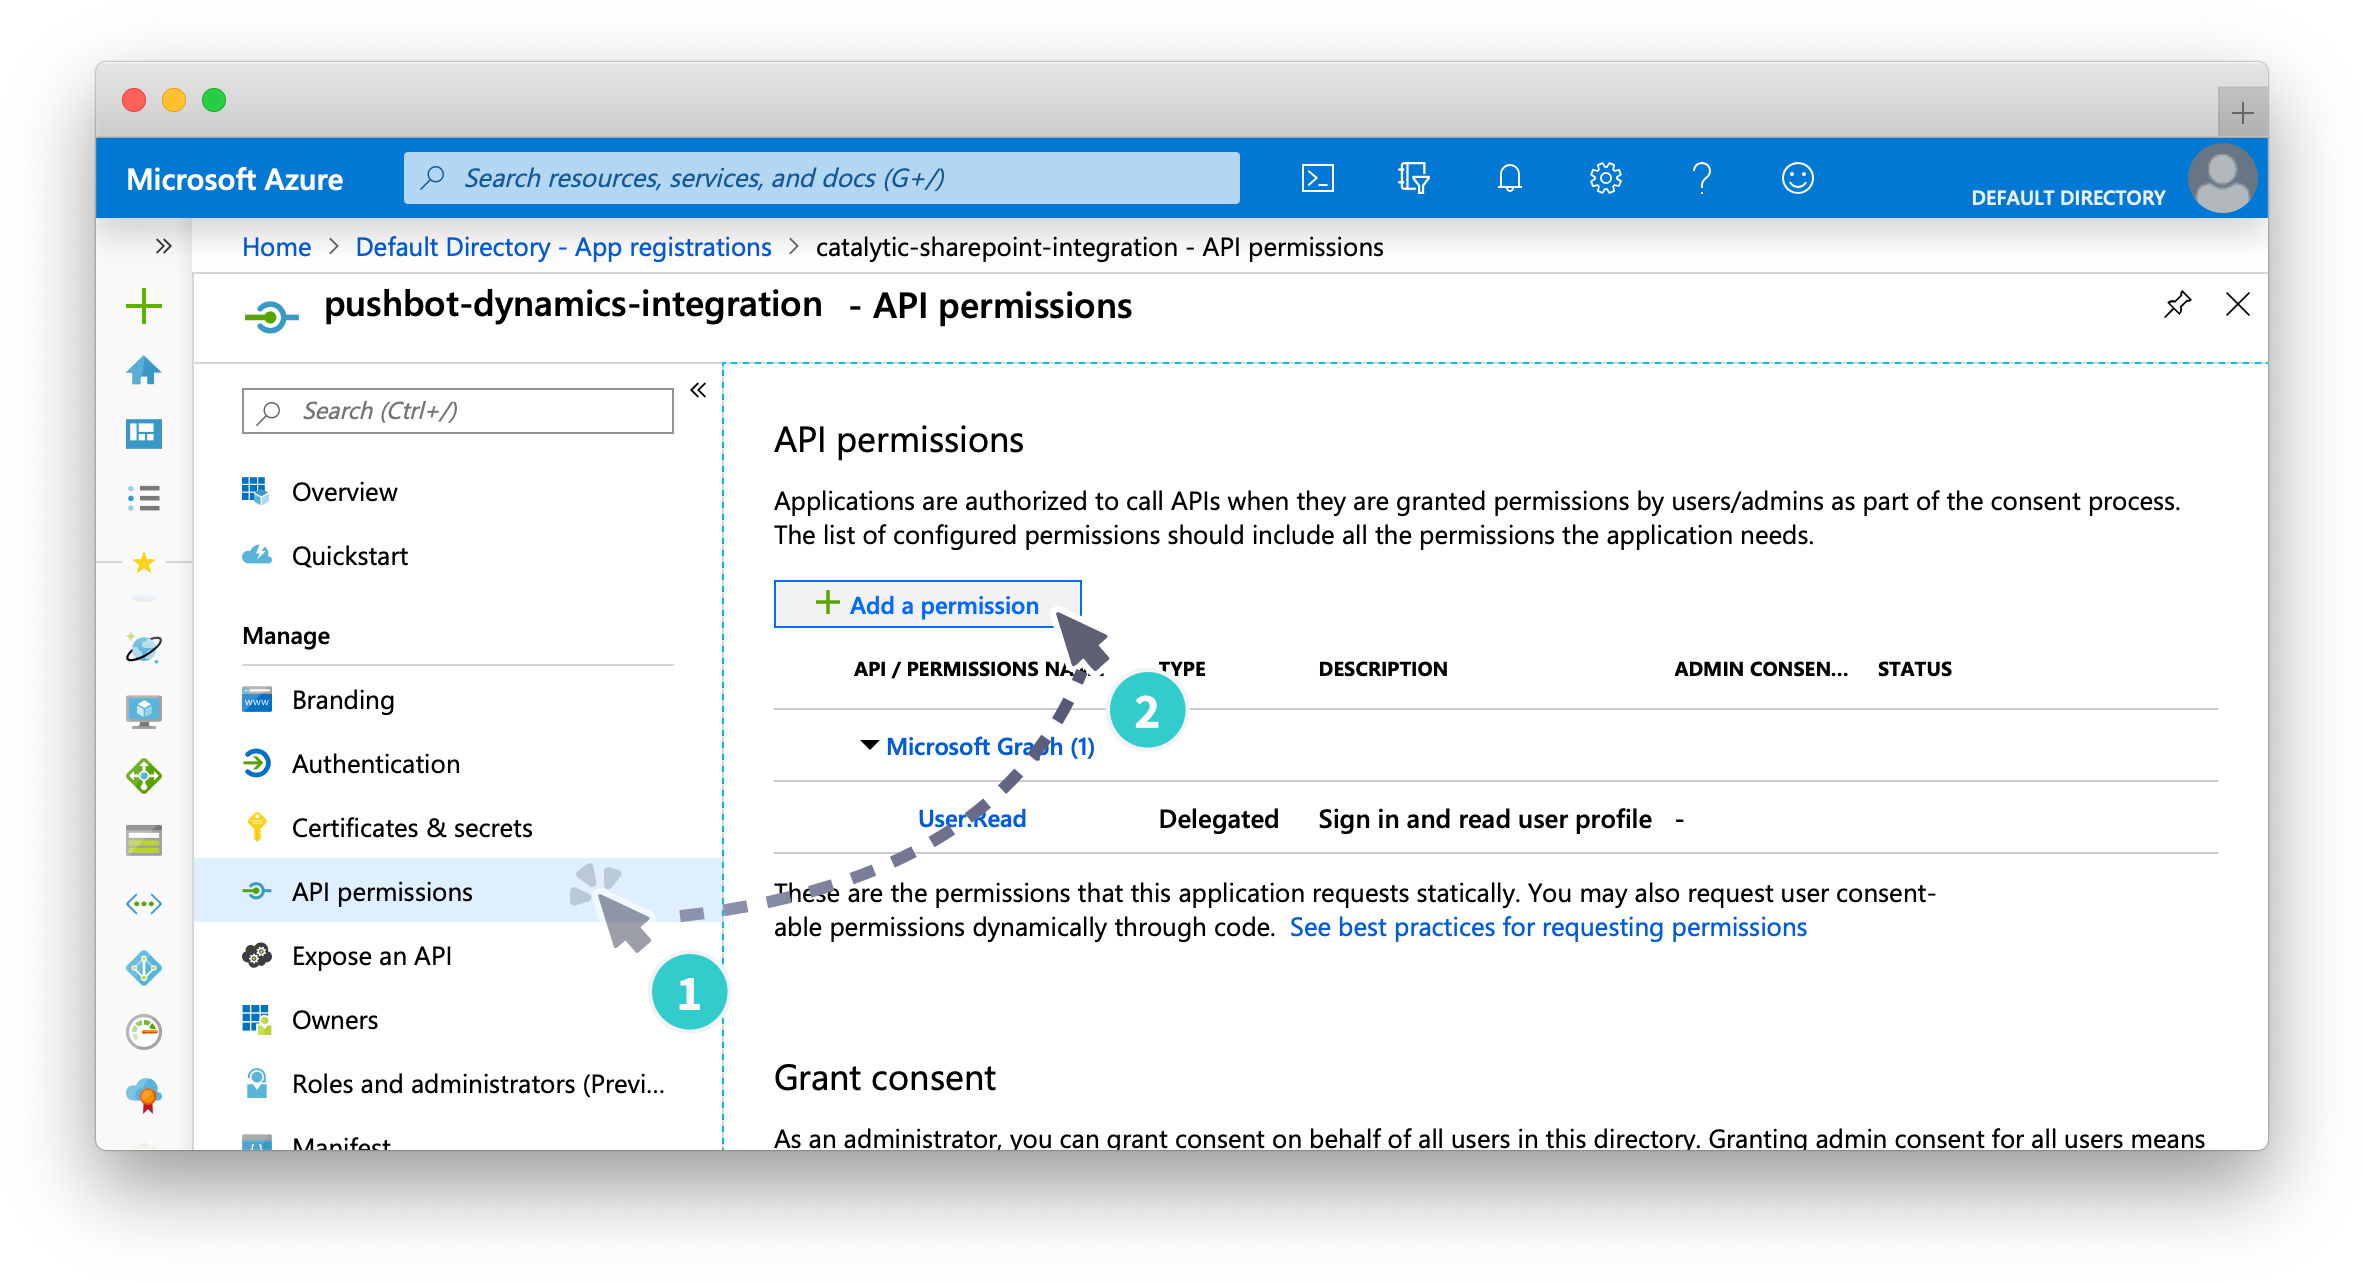
- Select API permissions in the left side bar.
-
Select Add a permission in the panel that opens up.
-
Scroll down, and select Dynamics from the list of available APIs.
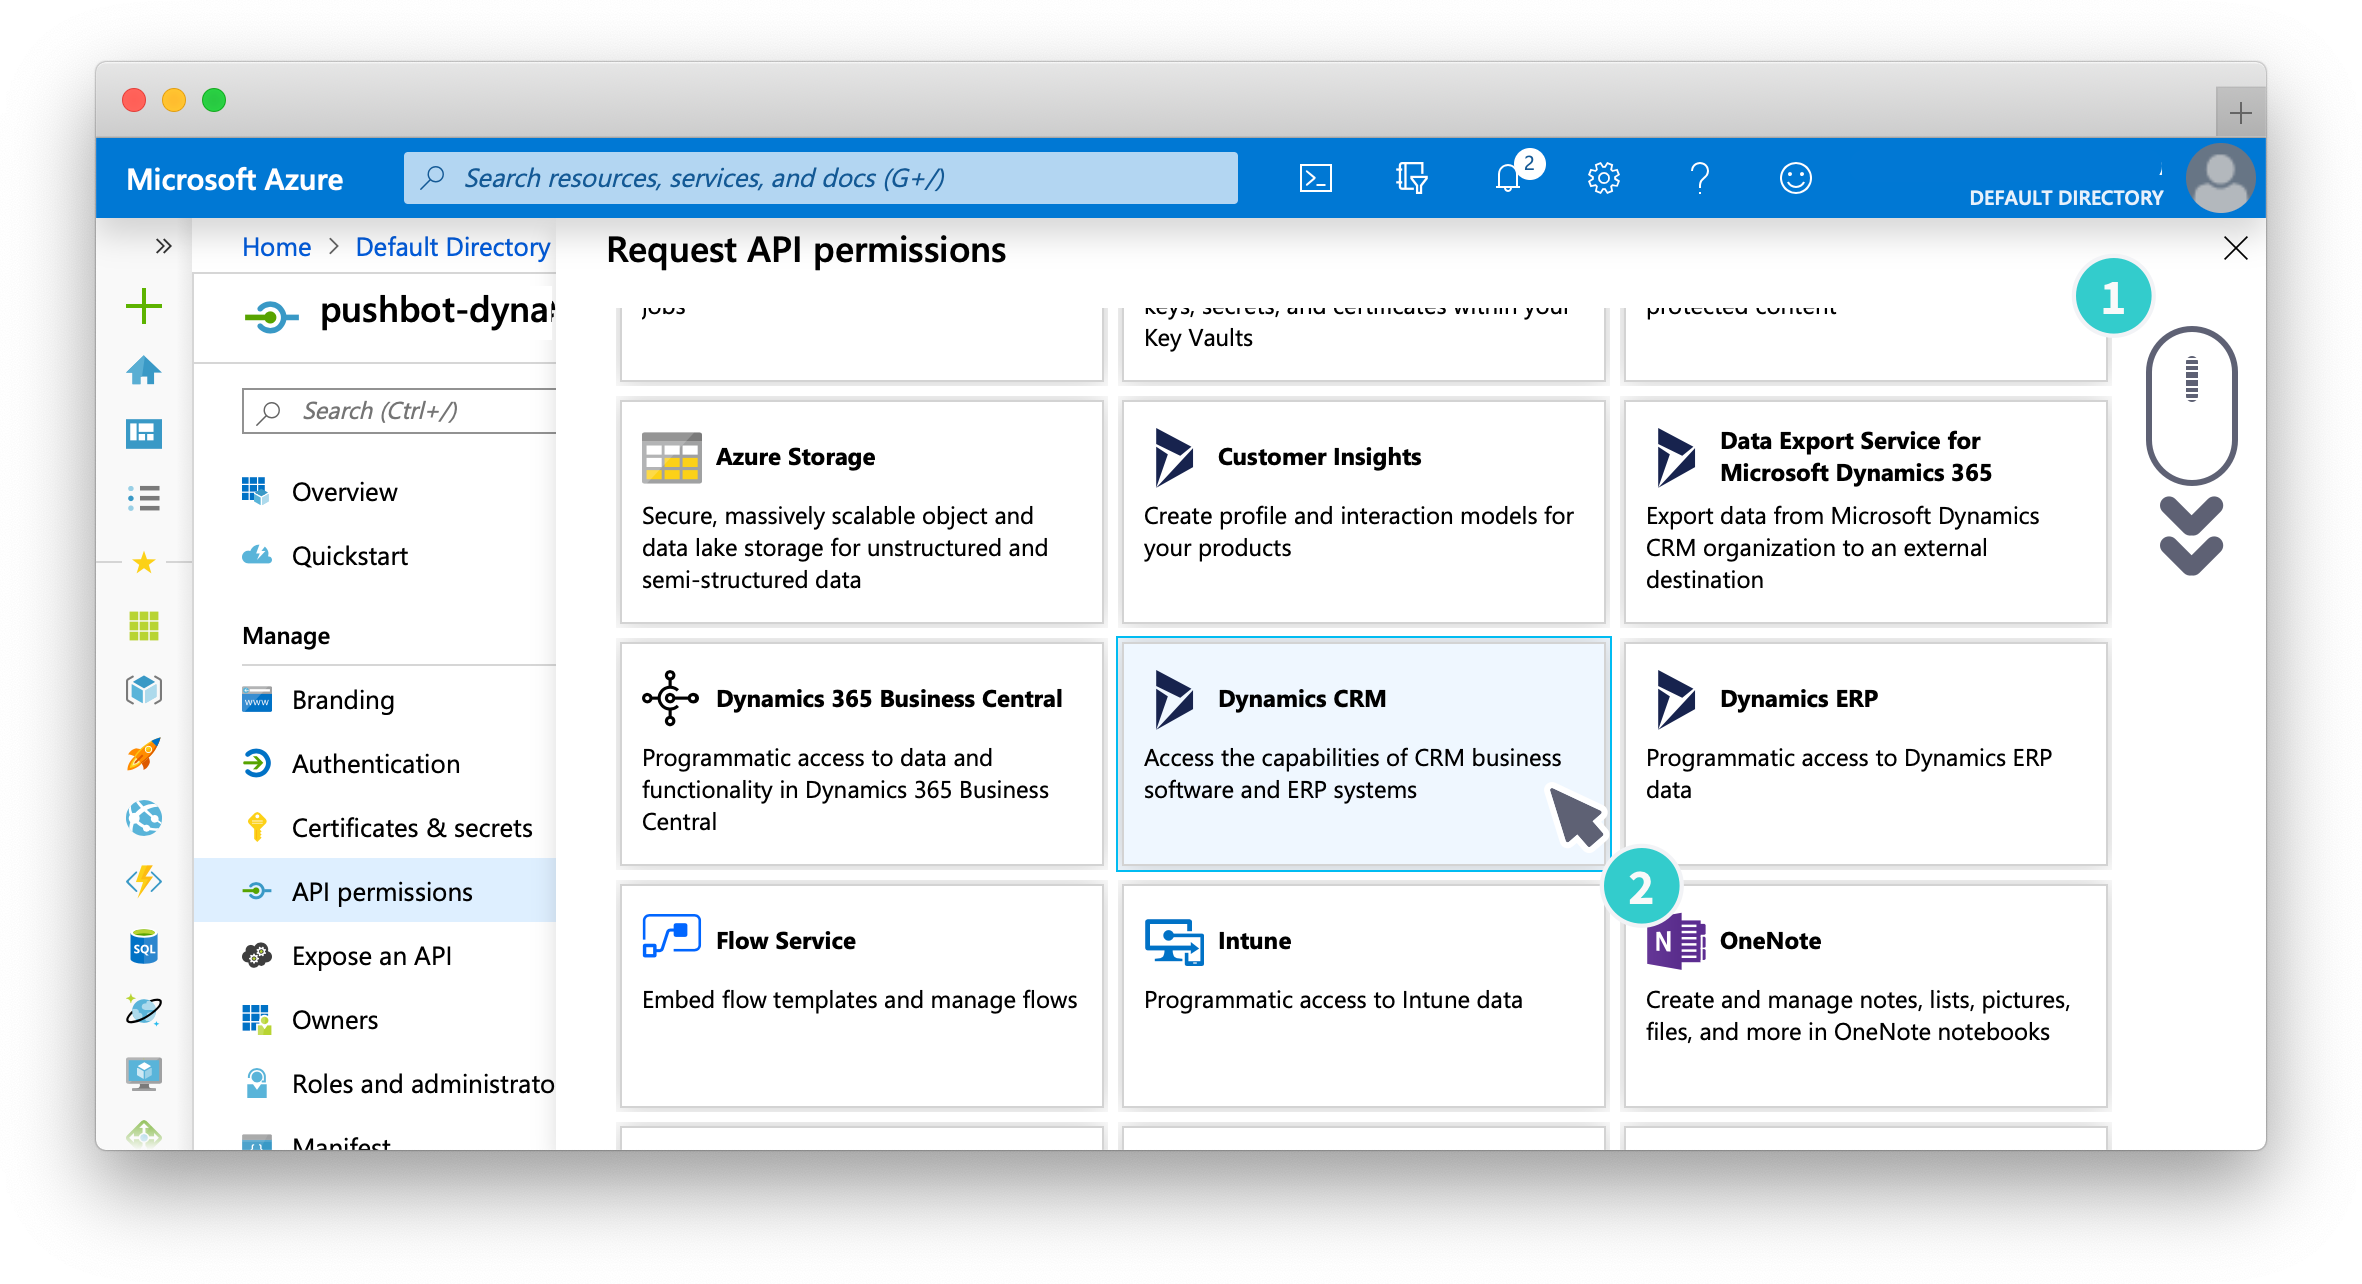
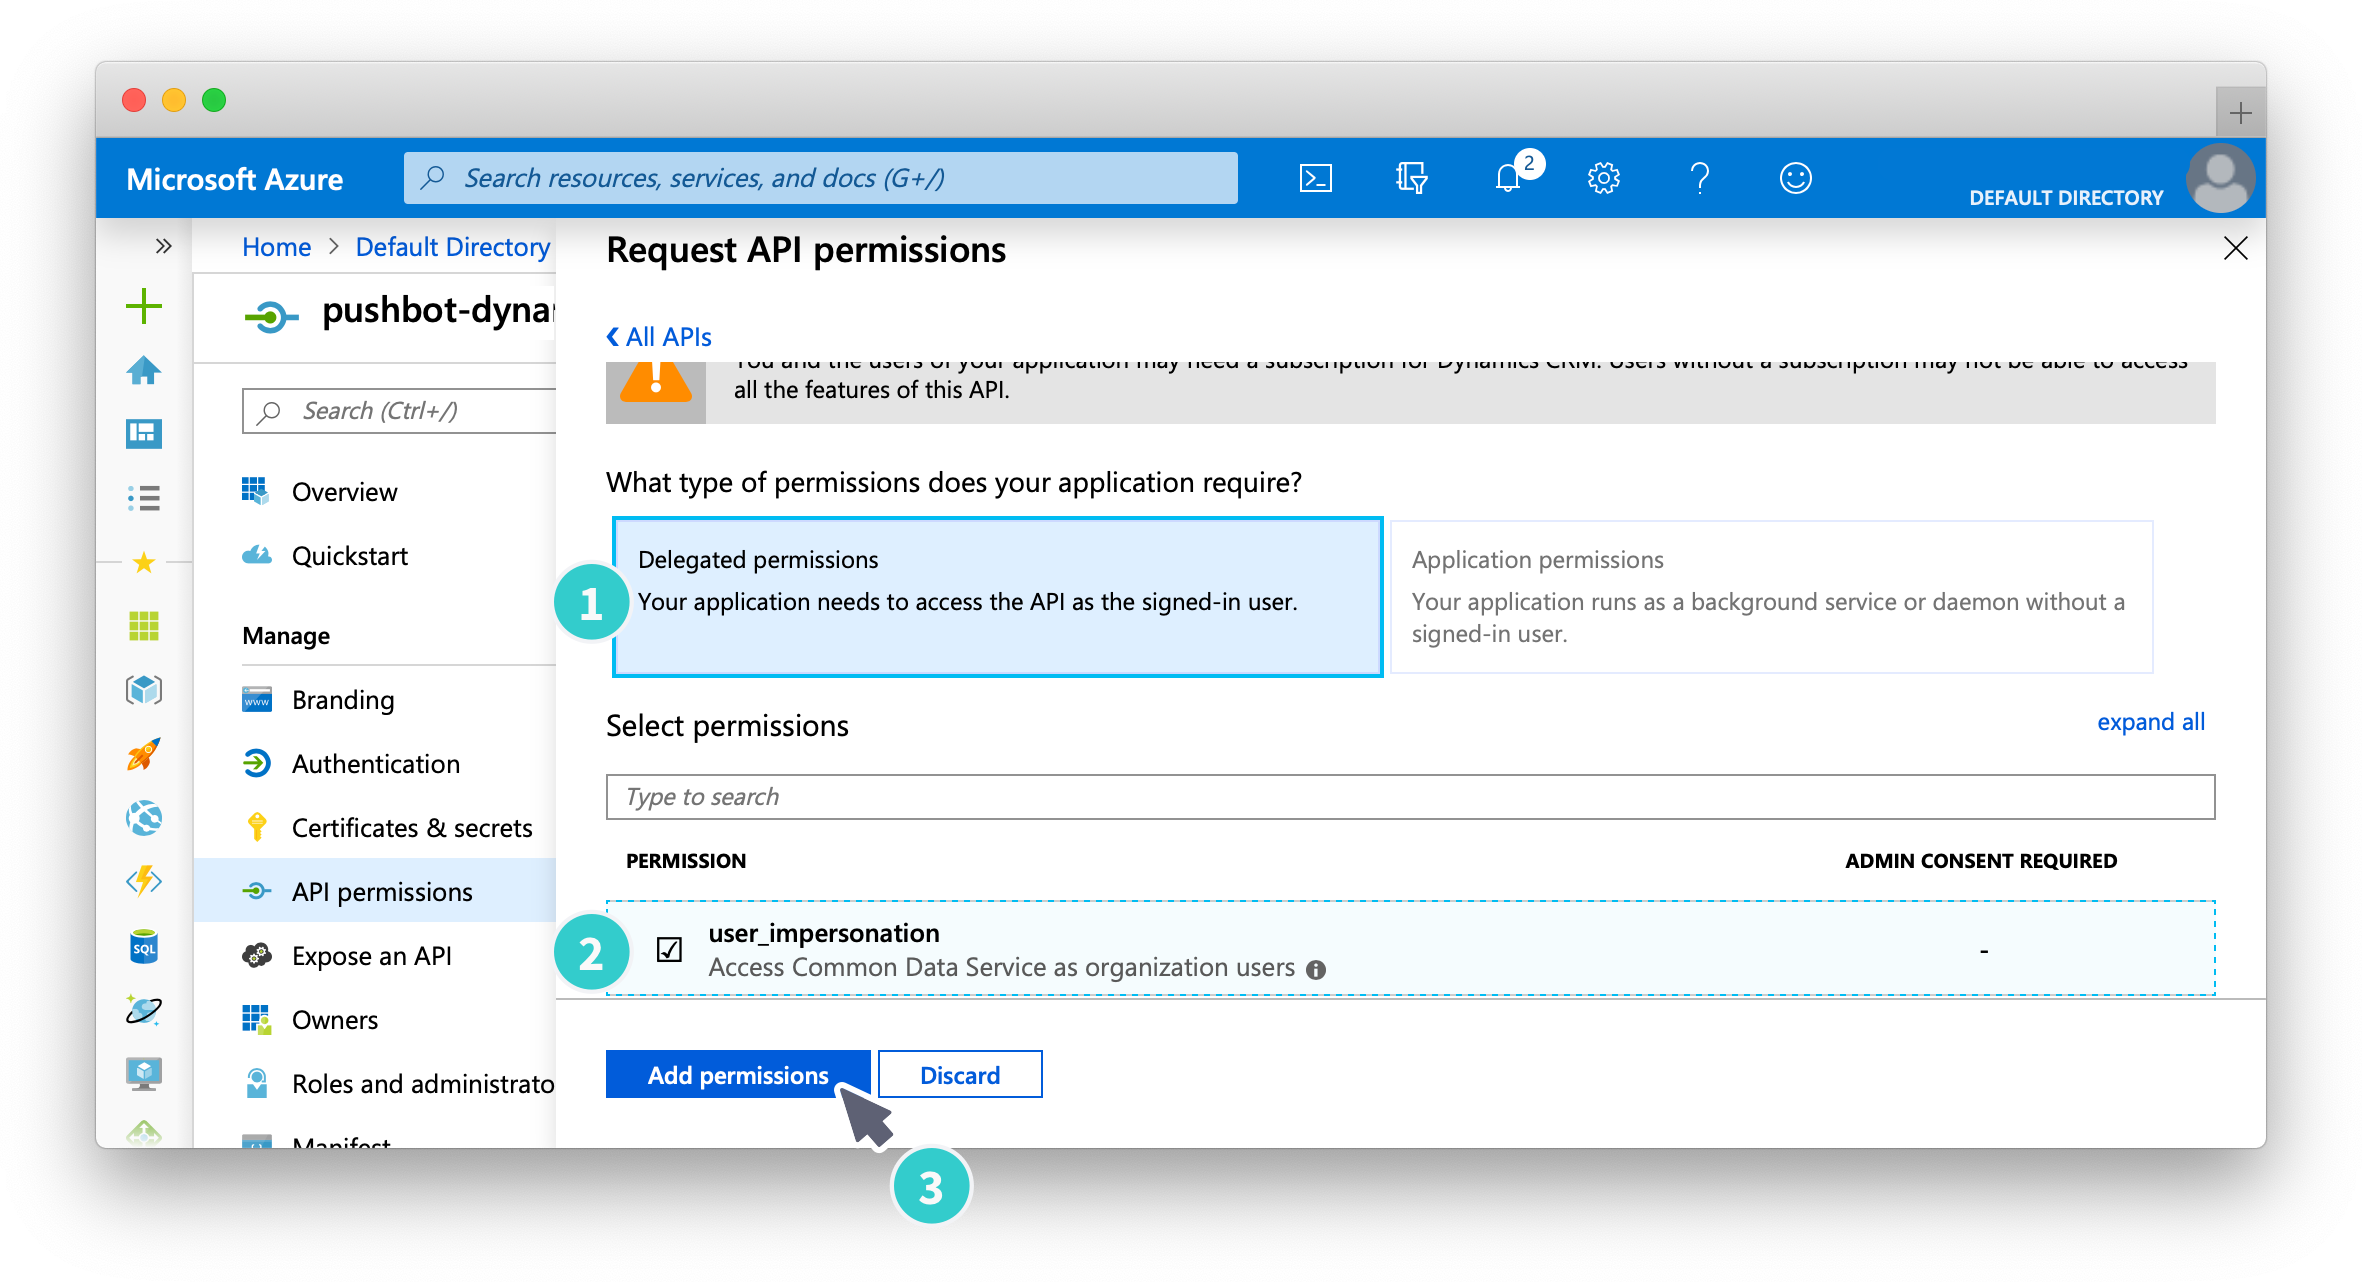
- Select Delegated permissions
- Scroll down, and select user_impersonation
-
Select Add permissions
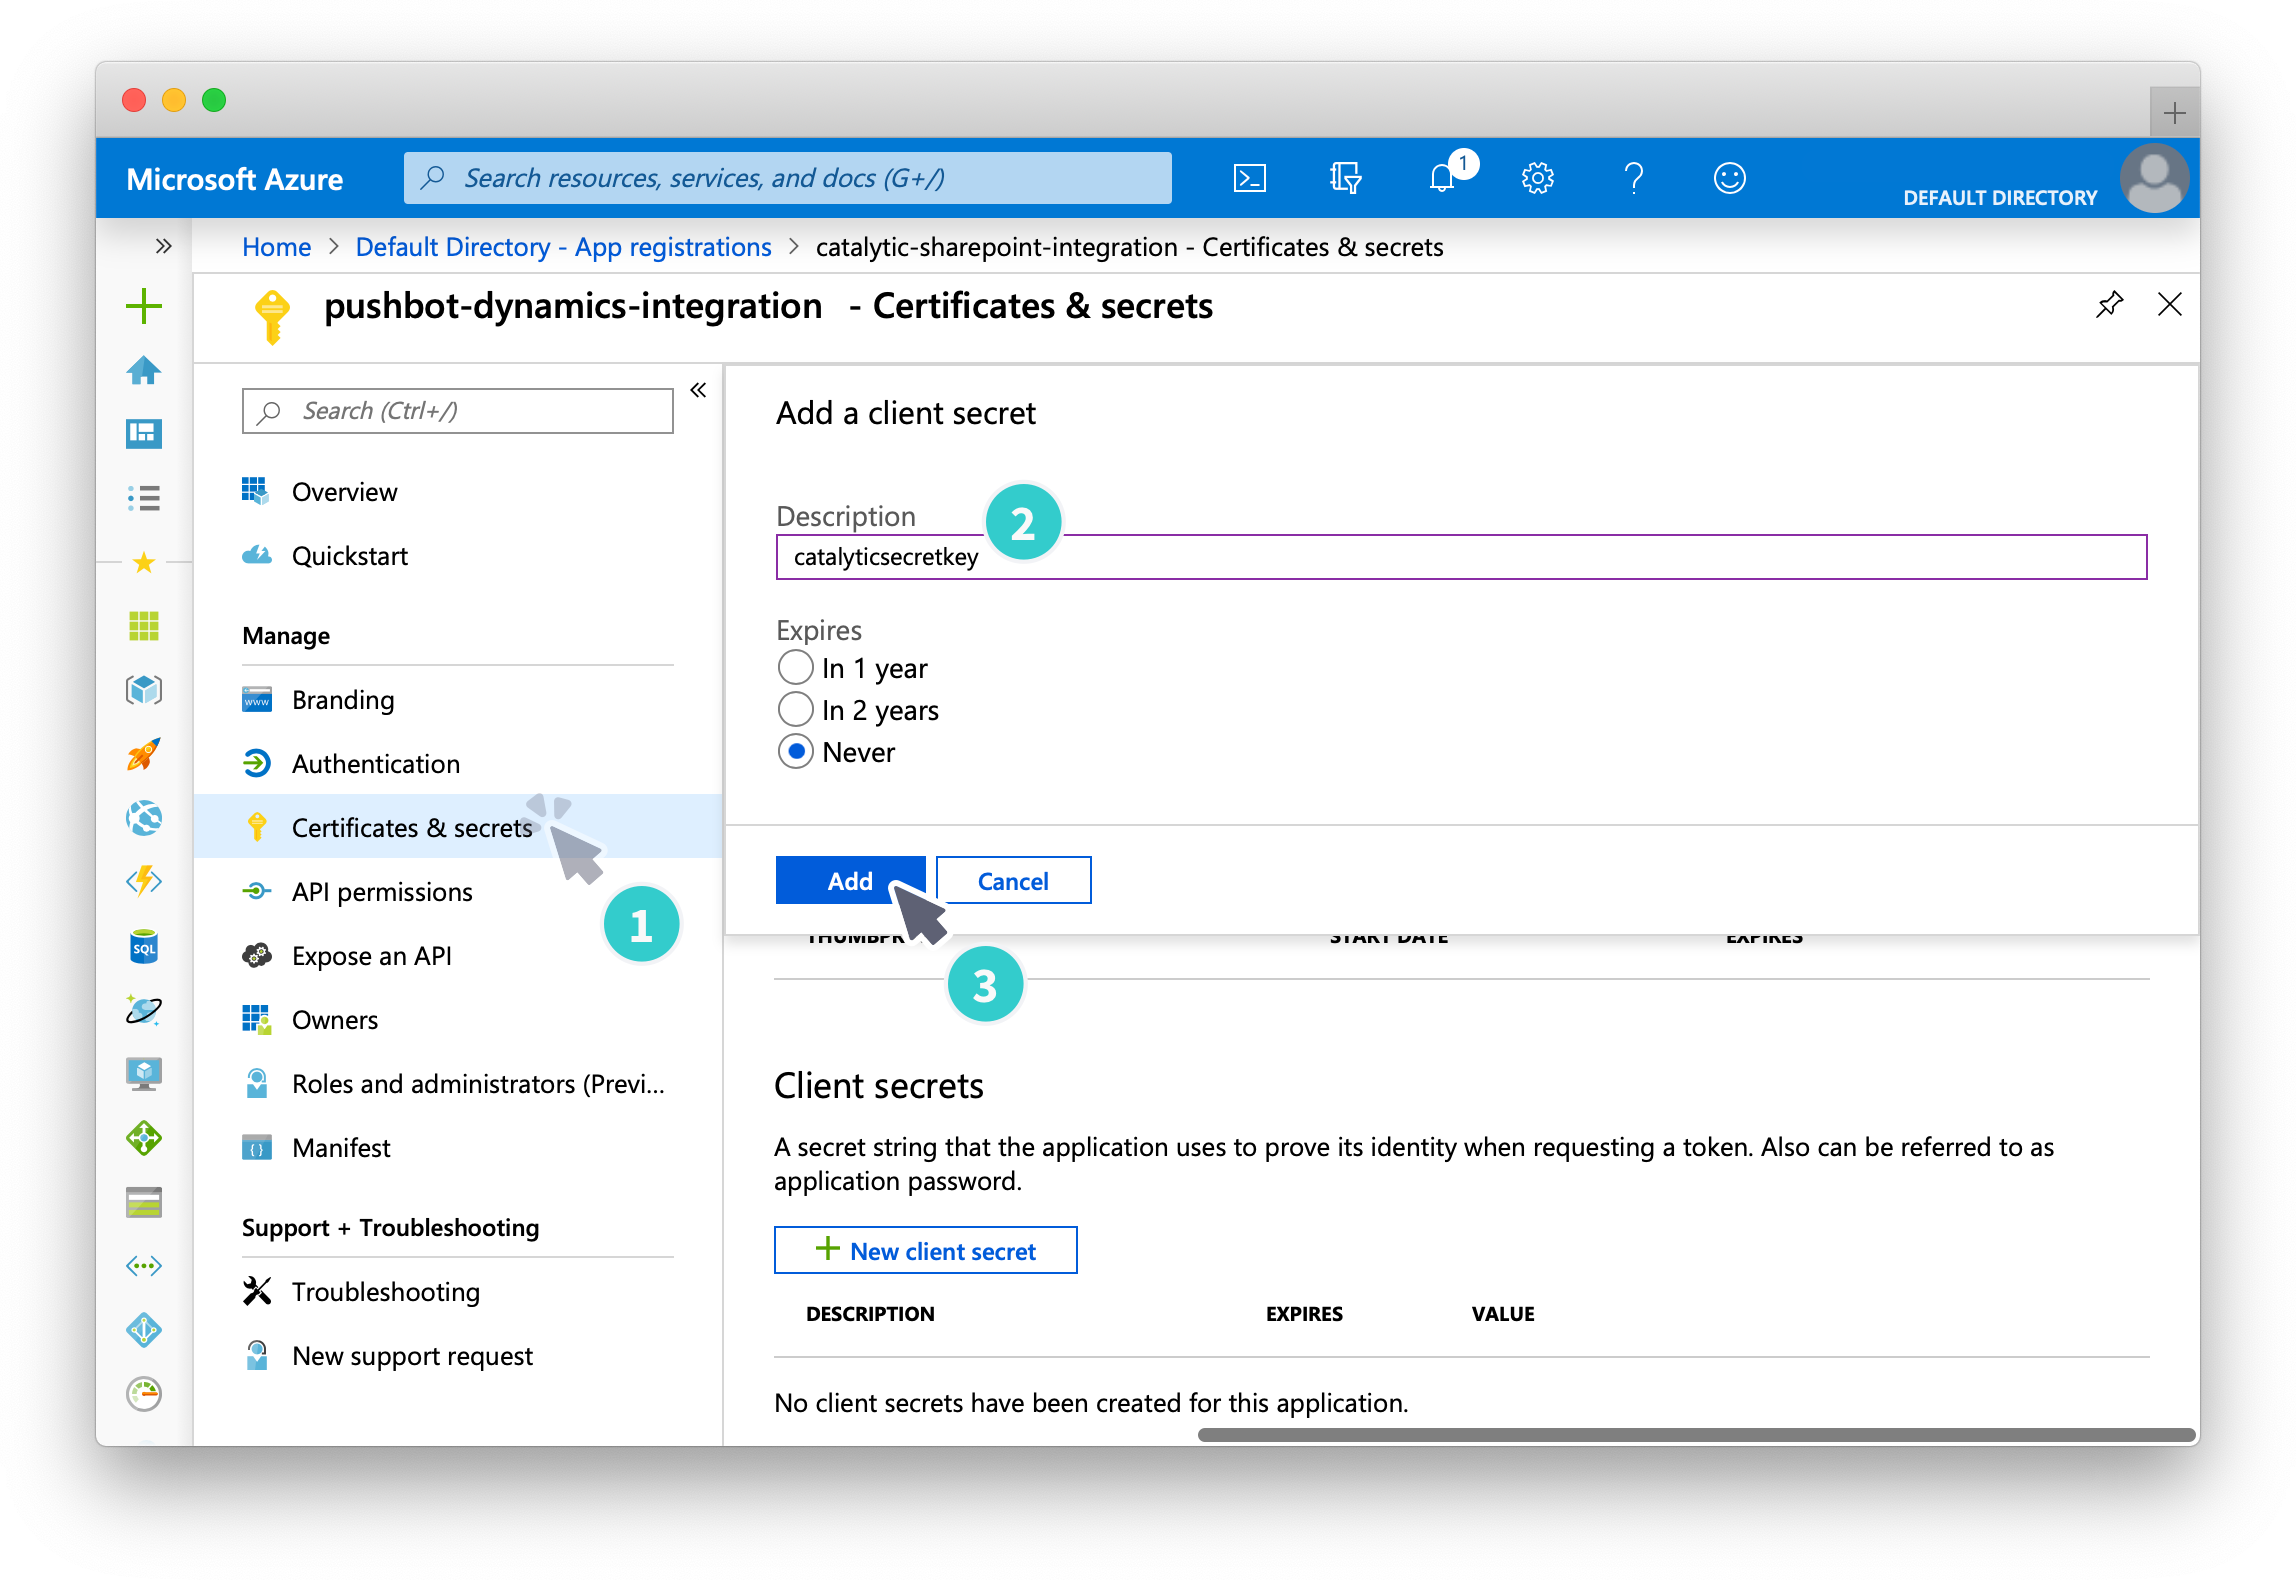
- Select Certificates & Secrets in the left side bar
- Give the secret a description, such as:
pagerdutysecretkey. - Set Expires to Never
-
Select Add
-
At the bottom of the next page, the Client Secret is revealed. This key is only shown once, so copy it before leaving the page.

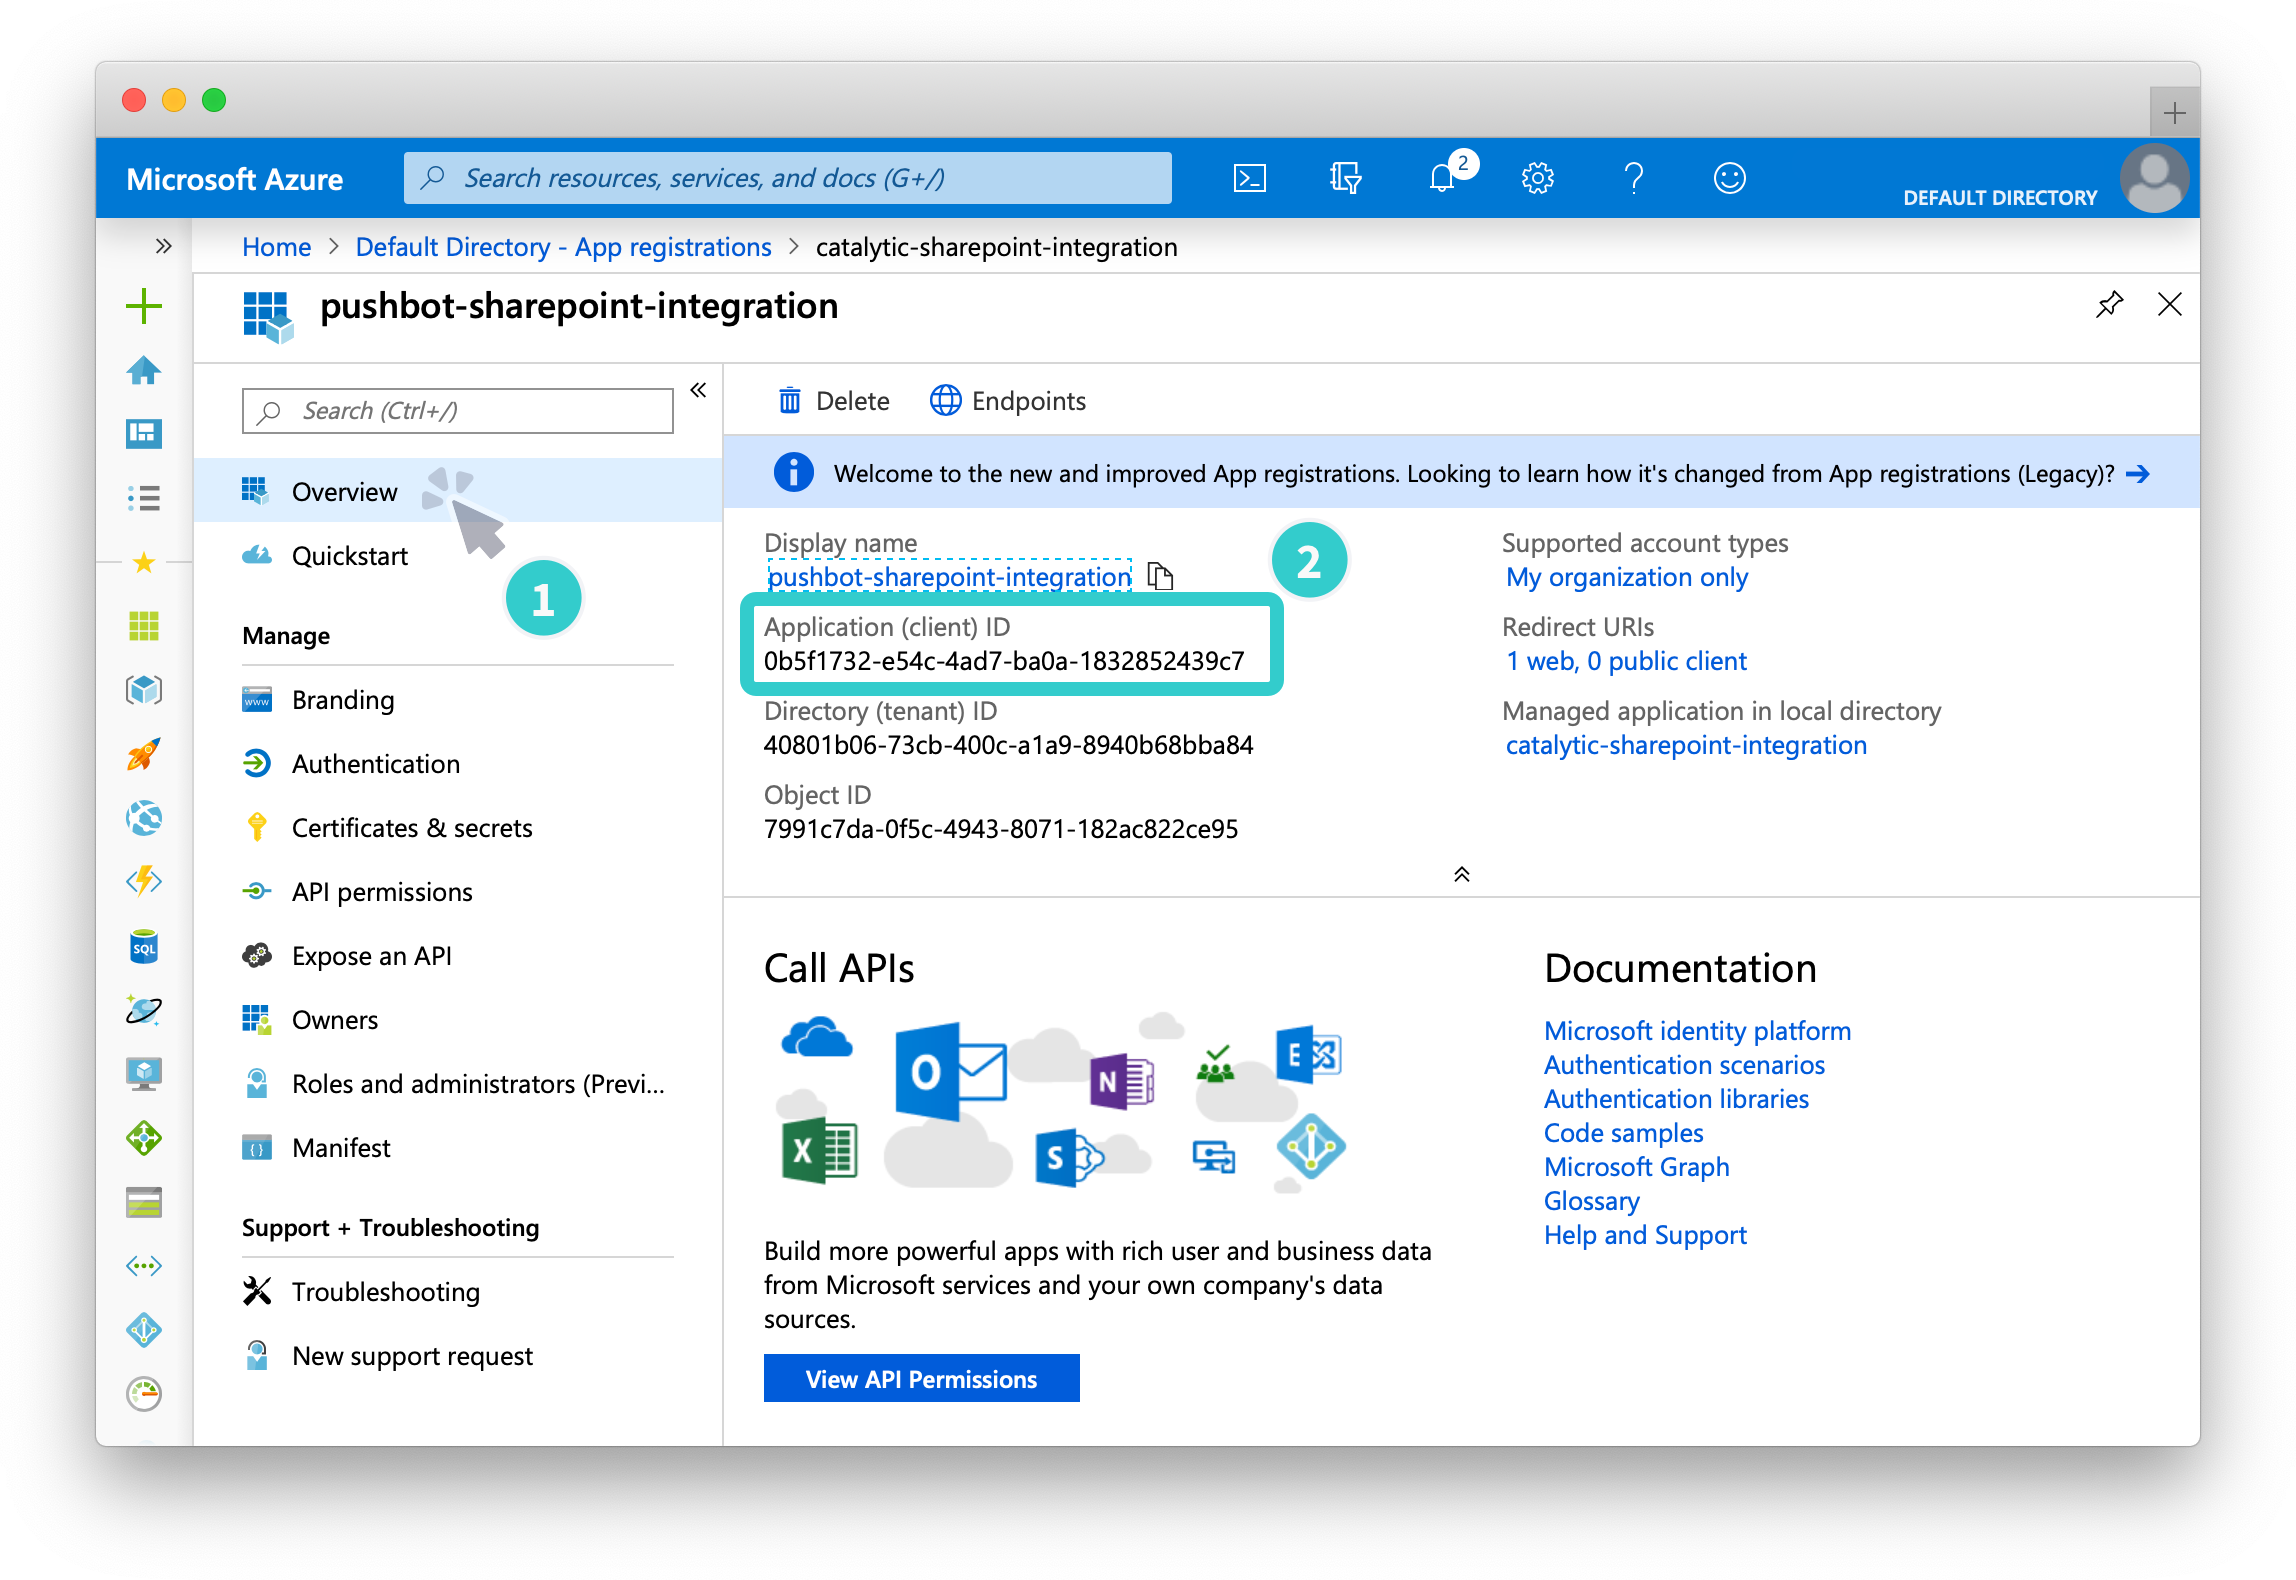
How to find the Client ID
With the app registered, select Overview in the left sidebar. The Client ID is shown next to the display name.
Create Integration
Once you have the Client Secret and Client ID, you are ready to integrate! To finish the integration, fill out the Dynamics Credential Submission form.
We’ll then contact you once the integration is ready for you to use. Once complete, the Dynamics integration will be ready to finalize.
The following instructions are for creating an integration for the first time. If you already have a connection, select the integration and select Add a Connection, or see How to create a new connection for an existing integration.
- Open the overflow menu in the top navigation bar, and select Admin.
- Select Integrations at the bottom of the page.
- Select the Add an Integration button in the top right corner.
- Select Dynamics integration then select Add this Connection.
-
Fill in the details. Set the integration permissions if necessary.
✅ Heads-up: The Dynamics account you choose to connect with must be part of your organization and have access to Microsoft Dynamics. If you’re logged into multiple Microsoft accounts, it’s recommended to log out of all but one account.
- Select Connect.
- It will redirect to a Microsoft login page where your Azure admin must log in to connect.
- After authorizing or logging into your Microsoft account, the integration is ready to go and you’ll be returned back to PagerDuty Workflow Automation.
Thanks for your feedback
We update the Help Center daily, so expect changes soon.
Link Copied
Paste this URL anywhere to link straight to the section.