 Custom Actions
Turn your most used actions or Workflows into reusable Custom actions. Now you can add your own actions to your PagerDuty Workflow Automation team, right alongside our thousands of existing actions.
If you consistently use the same series of actions, like resizing and renaming an image, turn it into a single reusable action—you can even define your own inputs and outputs.
How custom actions work 
Custom actions are great for turning entire Workflows, or parts of Workflows, into reusable components. In the example below, a team built a simple process to parse incoming emails for image attachments, then rename, resize, and upload attached files to team storage.

The rename, resize, and upload portion is useful and reusable. If we consistently reuse those same actions, we can create a custom action out of those three actions to reuse again in any other instance.

Plus, if you update the original Workflow, its custom action updates automatically; so if you’re using 1 custom action in 10 processes, you can make changes across all 10 processes when you update the Workflow.
The 3 components of a custom action
Custom actions have 3 main components:
You configure the inputs for the action, then the actions and tasks it will perform, then choose the outputs it will return.

In this example, the input for the custom action is a file field. The custom action is made up of 3 actions that manipulate the file. The action then outputs a url of the uploaded file.
Overview of custom action inputs
Custom actions have inputs that you get to define. Inputs are like the file, email address, or other field the custom action depends on. Set the custom action inputs by creating Instance Fields—every Instance Field becomes an input.
A custom action that resizes and uploads images should have a file field input.
Other examples are:
- The Tables: Add a Row action has a
Data Table IDinput. - The Excel: Combine Spreadsheets action has two
fileinputs.

Overview of custom action configuration
A custom action is just the actions it is made of, compiled into one easily reusable action. The actions are built around any specific input fields: if this action will resize images, create an input field {{file}}, then use that reference during configuration.
Add and configure the actions—build the steps around the inputs you chose; this will guarantee the custom action uses fields that are available.

Overview of custom action outputs
Outputs are the fields the custom action will return. Just as each action has its default output fields, you can specify the output fields a custom action returns.
A custom action that resizes and uploads images should have a file url output field for where the file was uploaded.
Other examples are:
- The Tables: Add a Row action outputs the
Row IDfor each row added. - The Excel: Combine Spreadsheets action has one
fileoutput for the new file.
Choose any output field from the process that you want the custom action to return—it can be any or all outputs.

How to create a custom action
Set up a custom action in 3 steps: Configure the inputs for the action, then the actions and tasks it will perform, and set the outputs it will return.
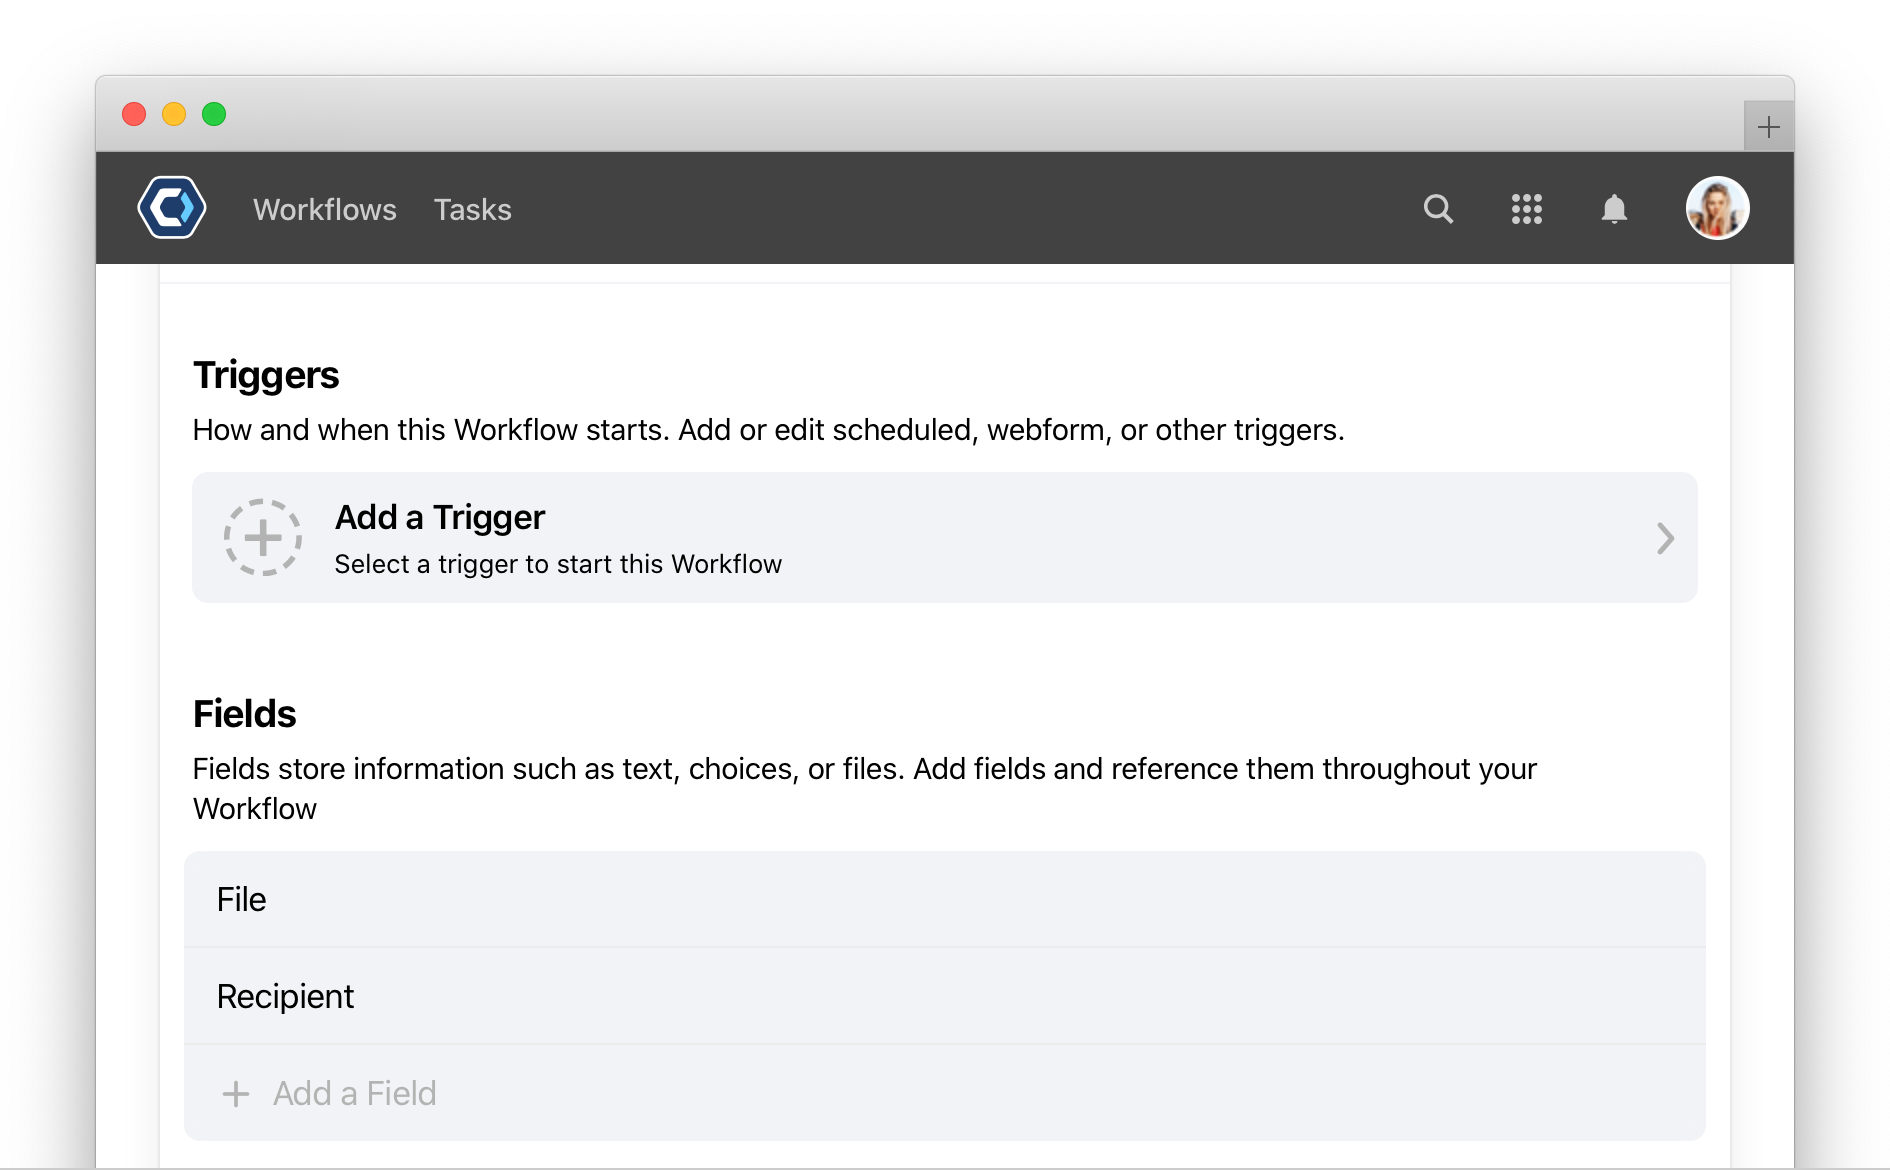
- Create a Workflow and add Instance Fields, like a File and Recipient field.
- Add actions to the Workflow and configure them. Reference the
{{file}},{{recipient}}fields and any other Instance Fields while you build. - When you’re ready to create the action, return to the Workflow Settings page, select
 in the top right and select Create Custom Action.
 - Set the output fields the action will return. Leave blank to return all fields from the list, or select each field individually.
- Select
 to create the action.
💡 Tip: The custom action name is based on the Workflow it was made from, and the category that Workflow is in. The custom action’s name will be {{category}}: {{Workflow name}}.
Example of setting up a custom action
In this example, we’ll take a commonly used series of table and Excel actions and create a custom action.
The custom action will require two inputs: a file and a recipient email address. It will parse and filter the file, then send it to the recipient we designated in an input. It will then return an emailSent confirmation so we know it was delivered.

1. Set the custom action inputs
Create a new Workflow to get started. The custom action name is based on the Workflow it was made from, and the category that Workflow is in. The custom action’s name will be {{category}}: {{Workflow name}}.
Any Instance Fields become inputs for the custom action. We’ll add a file type field, File, and a text field Recipient.

These fields are like the prerequisites for the custom action to work; the rest of the action depends on these two inputs we set.
2. Add and configure the actions
Add and configure each action. Set up the series of actions using the Instance Fields set as inputs.
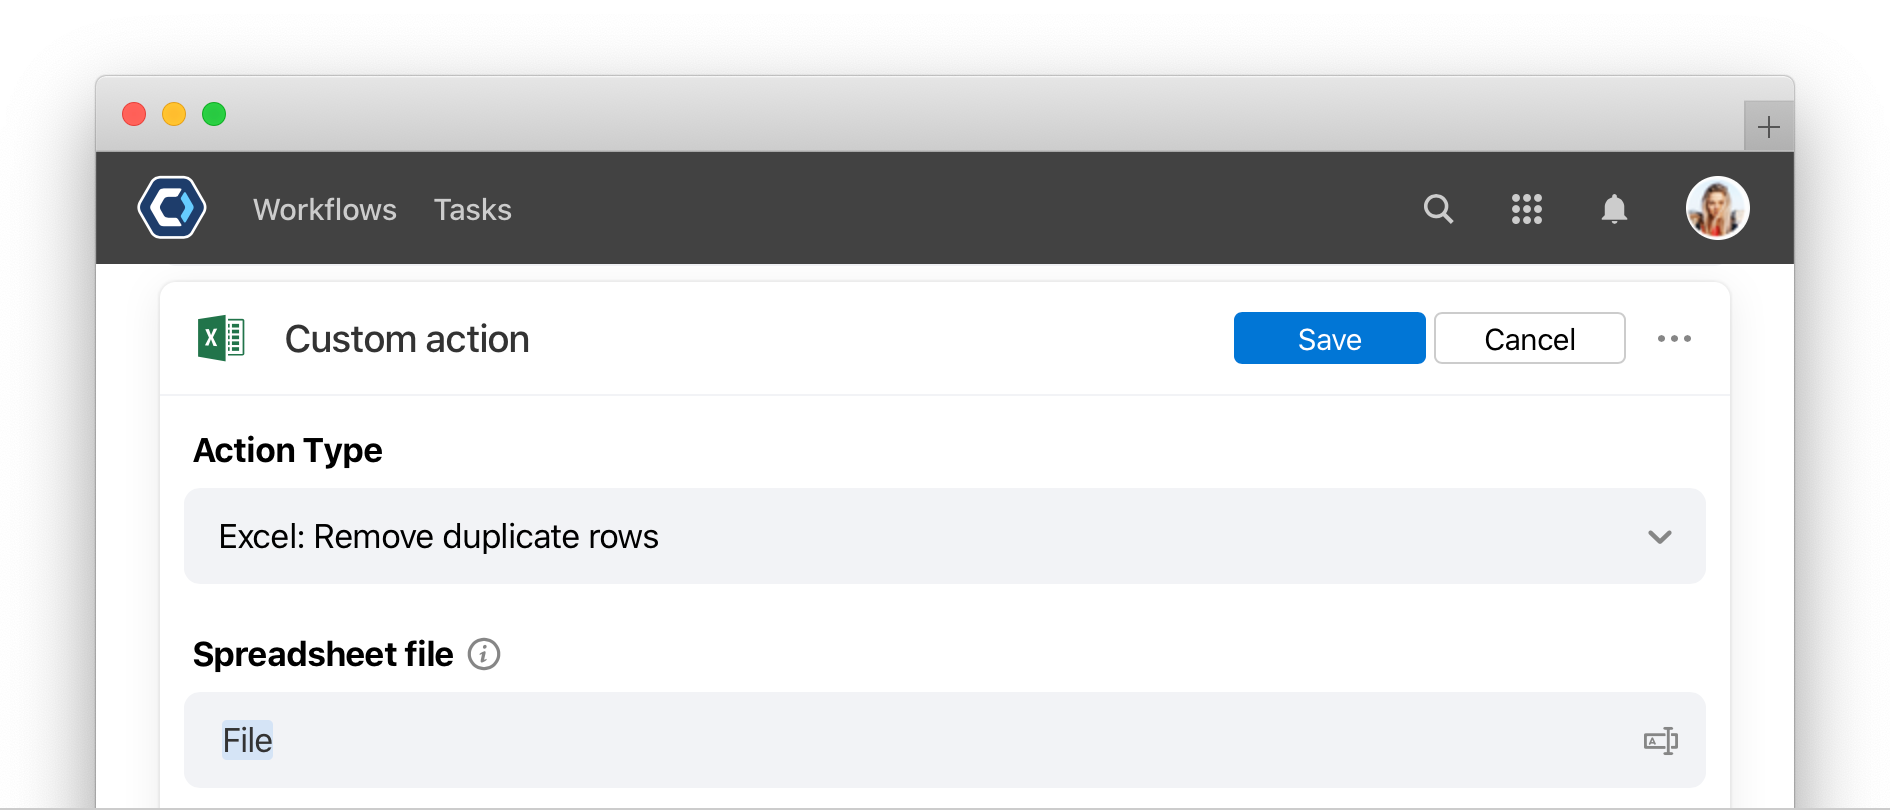
For example, the {{file}} input field we created is where new spreadsheets are stored. Reference that spreadsheet when you configure the action.
Continue setting up the rest of the actions as normal, referencing the Instance Fields as necessary.
3. Create the Custom Action and define the outputs
Finally, set the outputs when you create the custom action. Return to the Workflow Settings screen and select the button in the top right. Select Create Custom Action
From the Create Custom Action screen, choose any output field from the process that you want the custom action to return—it can be all outputs fields, or any.
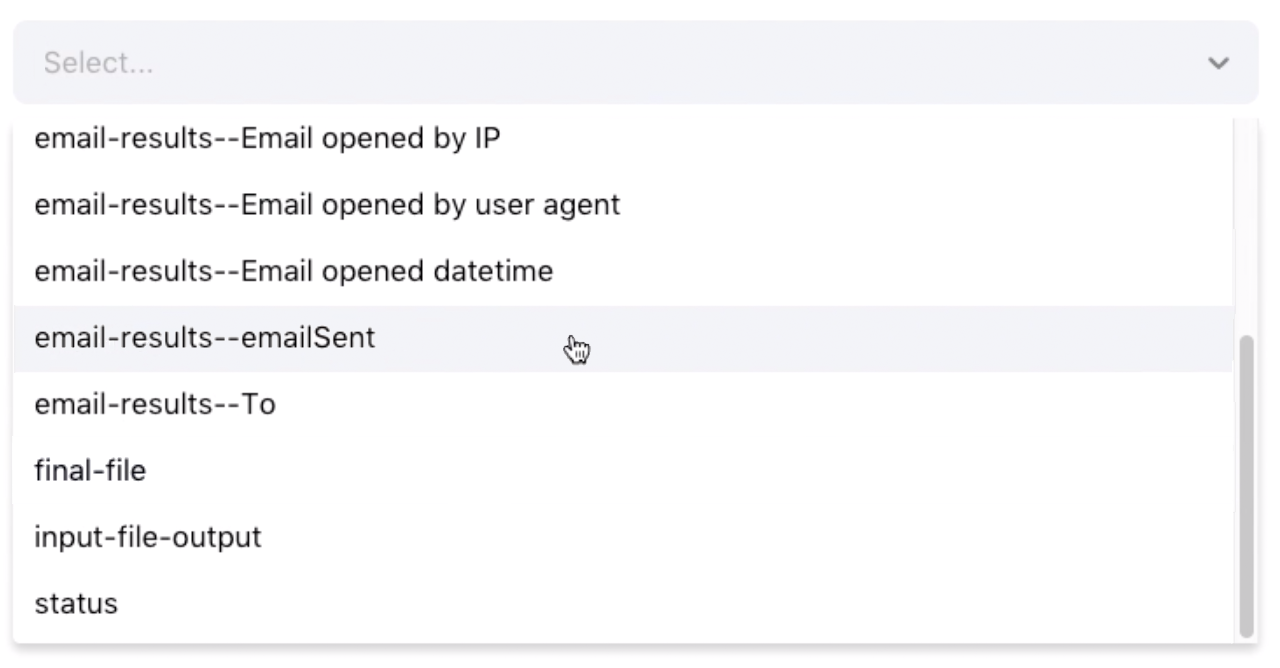
To confirm if the email was sent, select the emailSent field as the output.
Select . The action is then available in the action picker for you and your team. If you don’t see the action in the action picker, use the previous editor to find and add the action.

Thanks for your feedback
We update the Help Center daily, so expect changes soon.
Link Copied
Paste this URL anywhere to link straight to the section.